gluten-free pumpkin pancakes

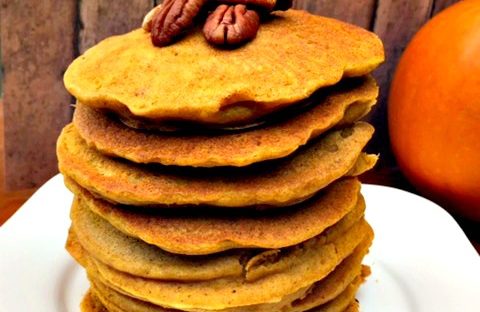
Fluffy Gluten-Free Pumpkin Pancakes

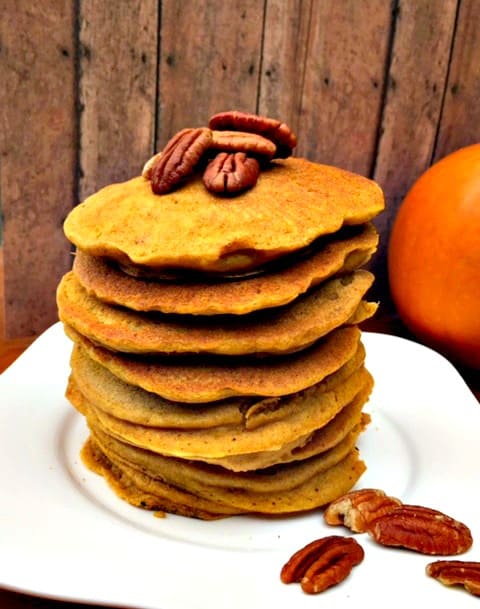
Autumn is the time for pumpkin picking, and also a time to use that delicious pumpkin in recipes on crisp autumn days. These Fluffy Gluten-free Pumpkin Pancakes are delicious. The addition of nutrient-packed pumpkin makes these pancakes super soft and moist.

Benefits of Pumpkin

Pumpkin is loaded with Vitamin A which is essential for eye health and helps prevent macular degeneration. It is also loaded with phytonutrients which helps lower blood pressure and prevent hypertension.  A member of the squash family, pumpkin is also high in beta-carotene and antioxidants which gives it cancer-fighting properties.

Pumpkin is also very high in fiber which is great for heart health. It also helps us feel full, so we are less likely to overeat. By adding it to these pancakes, it not only makes them delicious but also makes it a hearty, satisfying breakfast on a cool morning!

Gluten-free flour blend

You can buy an all-purpose gluten-free flour blend, but I mix up my own big batch of whole grain gluten-free flours that I keep handy in a large jar to easily whip us recipes like these:

Makes 2 1/2 cups

  • ¾ cup oat flour
  • ¾ cup brown rice flour
  • ½ cup sorghum flour
  • ¼ cup teff flour
  • ¼ cup arrowroot starch/flour
    Print Recipe
    Fluffy Gluten-free Pumpkin Pancakes
    gluten-free pumpkin pancakes
    Prep Time 30 minutes
    Servings
    pancakes
    Ingredients
    Prep Time 30 minutes
    Servings
    pancakes
    Ingredients
    gluten-free pumpkin pancakes
    Instructions
    1. In a small bowl combine the almond milk with 1 tablespoon of lemon juice and let stand for 5 minutes.
    2. In a large bowl, sift or whisk the flour, baking soda, baking powder, salt, and spices until combined.
    3. Whisk the almond milk, pumpkin, eggs, coconut oil, and vanilla until combined.
    4. Add the wet ingredients to the dry ingredients and whisk. Stir in nuts.
    5. Heat a lightly greased griddle over medium-low heat. Drop the batter by 1/4 cup onto the pan. Cook for a minute or two until the bottom starts to brown. Flip and cook on the other side for another minute or two. Keep warm.
    Share this Recipe
cappuccino butternut squash soup

Cappuccino Butternut Squash Soup with Truffle Oil

Print Recipe
Cappuccino Butternut Squash Soup with Truffle Oil
cappuccino butternut squash soup
Course Main Dish
Cook Time 25 minutes
Passive Time 30 minutes
Servings
servings
Ingredients
Course Main Dish
Cook Time 25 minutes
Passive Time 30 minutes
Servings
servings
Ingredients
cappuccino butternut squash soup
Instructions
  1. Preheat oven to 400 degrees. Slice squash lengthwise and rub with olive oil or ghee. Place face down on baking sheet and roast for 45-50 minutes.
  2. Heat 3 tablespoons ghee or oil over medium heat in a Dutch oven or large pot. Add garlic, onion, carrots, celery, bay leaf, thyme, and baking soda. Season with a teaspoon of salt. Cook, stirring occasionaly until vegetables just begin to brown, about 10 minutes.
  3. Remove flesh from squash and add to pot along with apples, cinnamon, and water. Bring to a boil, reduce heat, cover and simmer for 15 minutes.
  4. Remove bay leaf and process soup in batches in a high-speed blender. Keep about 1 cup of soup in blender and add Dandy Blend, honey, and coconut milk. Blend until foamy. Add to soup.
  5. Stir in 2 tablespoons of truffle oil. Season with salt and pepper. Serve with a drizzle of truffle oil.
Share this Recipe
baked eggplant

Baked Eggplant

To continue to “eat the seasons”, incorporate eggplant into your meals! Eggplants are one of the healthiest vegetables to include in your diet.

Benefits of eggplant

Eggplant

Loaded with fiber, eggplant aids in digestion and helps keep you feeling satiated. Fiber is great for heart health as it helps to lower your “bad” cholesterol. This vegetable is also loaded with Vitamin C and manganese which are great antioxidants and give eggplants anti-cancer properties. The unique color of eggplant is due to its phenolic compounds  which has been shown to reduce osteoporosis and increase bone density.

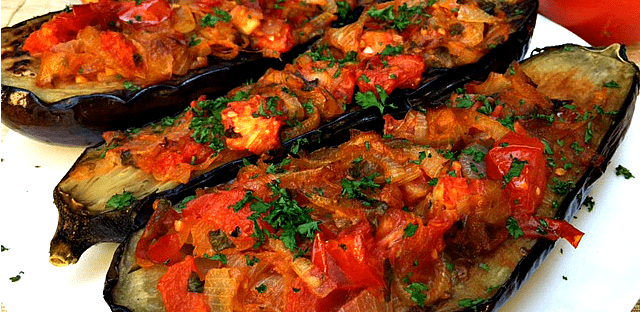
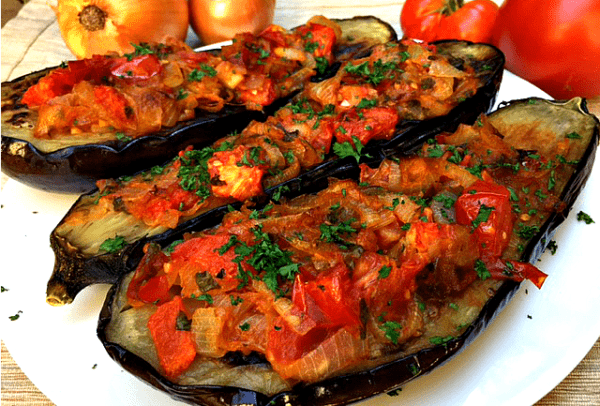
Try this simple Baked Eggplant recipe for a satisfying lunch or dinner!

Print Recipe
Baked Eggplant
baked eggplant
Prep Time 20 Minutes
Cook Time 30 Minutes
Passive Time 1 Hour
Servings
Servings
Ingredients
Prep Time 20 Minutes
Cook Time 30 Minutes
Passive Time 1 Hour
Servings
Servings
Ingredients
baked eggplant
Instructions
  1. Poke the flesh of the eggplant with a knife to make several cuts. Sprinkle with sea salt and set in a colander or on a wire rack to drain for 1 hour
  2. Preheat oven to 350 degrees.
  3. Heat 2 tablespooons ghee or oil in a medium skillet over medium heat. Add onions and garlic and saute until just starting to brown, 10 minutes.
  4. Add tomatoes and basil and season with salt. Simmer for 10 minutes.
  5. Heat remaining oil in a large skillet. Place eggplant face down in pan and fry until softened, about 10 minutes.
  6. Place the eggplants face up in a baking dish and fill with onions and tomatoes. Bake 30 minutes. Sprinkle with parsley and serve.
Share this Recipe
baked rice salad

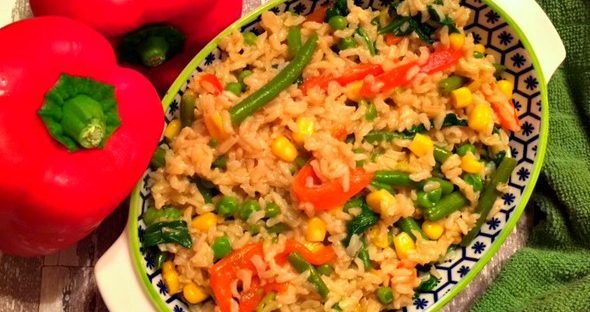
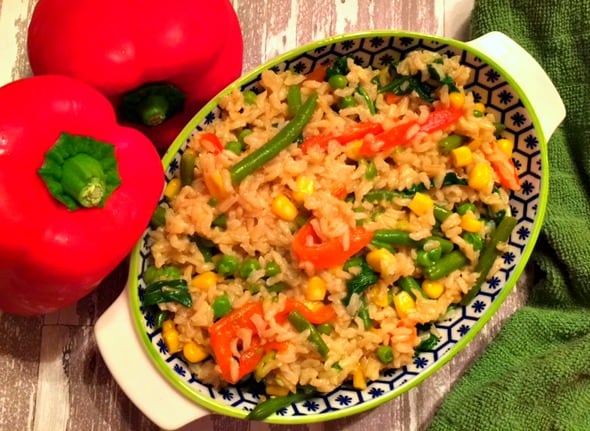
Baked Rice Salad with green beans, peas, and corn

Print Recipe
Baked Rice Salad
baked rice salad
Cook Time 30 minutes
Servings
Ingredients
Cook Time 30 minutes
Servings
Ingredients
baked rice salad
Instructions
  1. Preheat oven to 350 degrees.
  2. Heat 2 tablespoons of ghee or oil in a Dutch oven or casserole. Add onion and saute for 3-4 minutes. Add in rice and stir to coat with oil, 1 minute. Add stock and bay leaf. Bring to a boil. Cover and bake in the oven for 20 minutes.
  3. Meanwhile, place the pepper directly on the stove burner over medium heat. Turn often until it is charred on all sides. (Yup, you are burning it on purpose.) Wrap the pepper in foil or place it in a paper bag for 10 minutes. Unwrap and peel the skin and remove seeds. Rinse under cool water and slice thinly.
  4. Remove pot from oven and add green beans, peas, and corn. If dry, add a little more stock. Return to oven and cook for another 10-15 minutes until rice is al dente.
  5. Place the capers, 3 tablespoons of olive oil, and vinegar in a food processor. Blend until smooth.
  6. When rice is cooked remove the bay leaf. Add peppers, spinach, and dressing and toss gently. Serve.
Share this Recipe
spaghetti squash and kale

Sautéd Spaghetti Squash and Kale

Fall is upon us and we want to continue to “eat the seasons”. In season produce is fresher and always cheaper than foods not in season. Fall means squash, apples, beets, kale, pears, eggplant, and root vegetables to name a few.

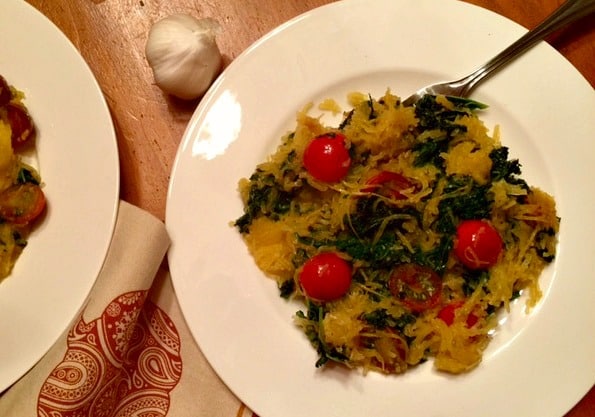
October and November are the peak of the season for squash. This simple recipe of Sauteed Spaghetti Squash and Kale has a texture similar to spaghetti which makes a delicious low-carb alternative to pasta!

Benefits of Spaghetti Squash


Winter squash is loaded with antioxidants. It also one of the best sources of carotenoids which has powerful anti-inflammatory agents.  Squash is also high in vitamin A, vitamin C, vitamin B6 and copper. It contains tons of fiber which helps you feel satiated.

Preparing spaghetti squash

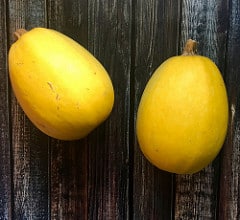
The tough skin on spaghetti squash can make it really hard to cut into. Sometimes it’s just easier to roast the whole thing, but here’s a tip on cutting it:

Using a sharp knife, poke slits in the squash skin; creating a dotted line across the middle. Cut off the stem, and then slice the squash along the dotted line.

Another great thing about spaghetti squash is that it will last quite a while if kept in a cool, dark place, and even longer in the fridge. You can also prepare it up to three days in advance of using it.

This recipe incorporates organic heirloom cherry tomatoes, but organic cherry tomatoes can be substituted. I had an abundance of the heirloom tomatoes in my garden. Funny thing is, I didn’t plant them. I do however make my own compost from yard waste and kitchen scraps. I must have thrown some heirloom cherry tomatoes in there because two plants popped up in my garden and produced these dark red, sweet, and delicious heirloom tomatoes!

Print Recipe
Sauteed Spaghetti Squash and Kale
spaghetti squash and kale
Course Main Dish
Cook Time 40 minutes
Servings
Ingredients
Course Main Dish
Cook Time 40 minutes
Servings
Ingredients
spaghetti squash and kale
Instructions
  1. Preheat the oven to 400 degrees. Cut the squash in half and remove seeds. Rub inside with olive oil and place cut side down on lined baking sheet. Take the whole bulb of garlic and cut off just the top of the bulb to expose the garlic. Drizzle with olive oil and wrap in aluminum foil. Place on the baking sheet and roast for 35-40 minutes until squash is tender. (Fork should easily pierce skin.)
  2. Remove squash from oven and allow to cool slightly. Scrape flesh with fork to pull out large strands. Unwrap garlic and squeeze roasted cloves out.
  3. Heat remaing olive oil in large saute pan. Add kale. Cover and cook until tender, about 5 minutes.
  4. Add squash. roasted, garlic, and tomatoes and toss. Remove from heat and drizzle with fresh olive oil. Season with salt to taste. Serve with nutritional yeast if desired.
Share this Recipe


Buckwheat pasta with Langoustine

Buckwheat Angel Hair with Langoustine

Langoustine or langostinos are like little tiny lobsters. You can find them in the frozen section at Trader Joes’s. I found this great buckwheat pasta angel hair pasta at Home Goods for only $3.99 a bag. You would be surprised how much natural food you can find at Home Goods.

If you don’t like buckwheat, any gluten-free angel hair pasta will do.

Print Recipe
Buckwheat Angel Hair with Langoustine
Buckwheat pasta with Langoustine
Course Main Course
Prep Time 10 minutes
Cook Time 15 minutes
Servings
servings
Course Main Course
Prep Time 10 minutes
Cook Time 15 minutes
Servings
servings
Buckwheat pasta with Langoustine
Instructions
  1. Bring a large pot of water to a boil.
  2. Heat oil in a medium skillet over medium heat. Add the onions and cooked about 2 minutes.
  3. Add the garlic and cook until fragrant, about 1 minute. Add in the chicken stock and simmer for 5 minutes.
  4. Cook the pasta to al dente.
  5. To the sauce, add the lemon juice, lemon zest, parsley, and salt and pepper. Keep warm.
  6. Drain pasta and add to sauce. Stir until combined over high heat. Remove from heat and stir in nutritional yeast.
Share this Recipe
buckwheat waffles

Buckwheat Waffles

Despite its name, buckwheat is not wheat? It is actually considered a pseudo-grain from the rhubarb family and it does not contain gluten. It is very nutritious, containing magnesium, iron, protein, and fiber. It tastes best when ground fresh.  Store it in the fridge or freezer because once ground it can go rancid quickly.

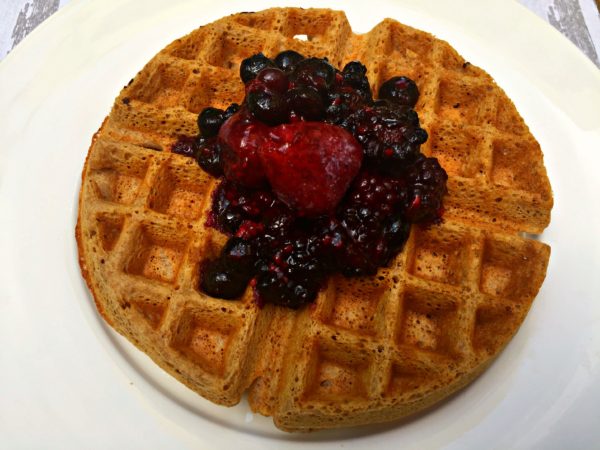
Buckwheat’s nutty, earthy flavor makes great pancakes and waffles. By whipping the egg whites in this Buckwheat Waffle recipe you will get a nice, crispy crust. Instead of sugary syrup, warm up some frozen berries for a topping instead!

Print Recipe
Buckwheat Waffles
buckwheat waffles
Course Breakfast
Servings
waffles
Ingredients
Course Breakfast
Servings
waffles
Ingredients
buckwheat waffles
Instructions
  1. Preheat your waffle iron.
  2. Mix lemon juice or cider with milk and let stand for 5 minutes.
  3. Whisk together flour, salt, and baking powder in a medium bowl.
  4. Add milk, egg yolks, and oil to your dry ingredients and whisk until smooth.
  5. Beat your egg whites until stiff.
  6. Genlty fold into batter with a plastic spatula. Do not overmix.
  7. Follow your waffle iron instructions to make your waffles.
  8. Enjoy!
Share this Recipe
 

Kefir coffee cake

Gluten-Free Kefir Coffee Cake

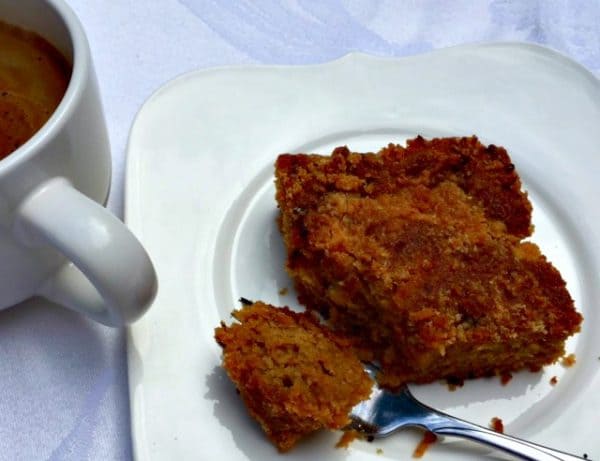
Kefir is a fermented milk beverage that contains three times more beneficial bacteria and yeast than regular yogurt. The yeast in the kefir slowly works overnight to leaven this gluten-free batter giving this cake a wonderfully light crumb!

Benefits of Kefir

Kefir is a rich source of protein, calcium, and B vitamins. It is more powerful than yogurt. Yogurt contains beneficial bacteria, but kefir can actually colonize the gut. Remember, all disease starts in the gut, so we want to have beneficial bacteria growing there. Kefir’s strong antibacterial properties also protect the gut from various harmful bacteria.

Although traditional dairy products can cause inflammation in the body, fermented dairy products can potentially protect against cancer. Many people who are lactose intolerant can often digest kefir because it contains a lower amount of lactose and as well as enzymes to digest it.

Kefir can also be made from coconut water which works great in this recipe if you have a dairy allergy. It’s easy to make at home too.

Baking with Kefir, does kill some of the healthful bacteria, but most of the beneficial nutrients still remain.

Print Recipe
Gluten-Free Kefir Coffee Cake
Kefir coffee cake
Course Breakfast, Snack
Cook Time 40 minutes
Servings
servings
Ingredients
Dry Ingredients
Wet Ingredients
Topping
Course Breakfast, Snack
Cook Time 40 minutes
Servings
servings
Ingredients
Dry Ingredients
Wet Ingredients
Topping
Kefir coffee cake
Instructions
Make the Cake
  1. Sift together dry ingredients in a medium bowl.
  2. Whisk wet ingredients in a separate bowl and then add to dry ingredients and stir to combine.
  3. Cover the bowl tightly and let stand at room temperature up to 8 hours or in the refridgerator overnight.
  4. When ready to bake, grease a 9 X 13-inch baking pan. Preheat oven to 350 degrees.
  5. Spread the cake batter in the prepared dish and set aside.
Make the Topping
  1. Sift together the almond flour and the salt. Cut in the honey and the cold ghee with a fork or pastry cutter until you have small chunks.
  2. Sprinkle half of the mixture over the cake. In a small bowl, combine the cinnamon and cacao and sprinkle evenly over topping. Sprinkle remaining topping on.
  3. Bake for 40 minutes. Let cake cool completely.
Recipe Notes

This cake freezes really well and also can easily be converted into muffins too!

Share this Recipe
acorn squash baked oatmeal

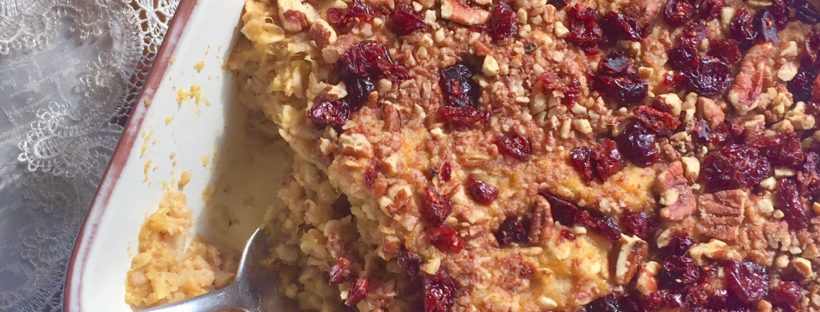
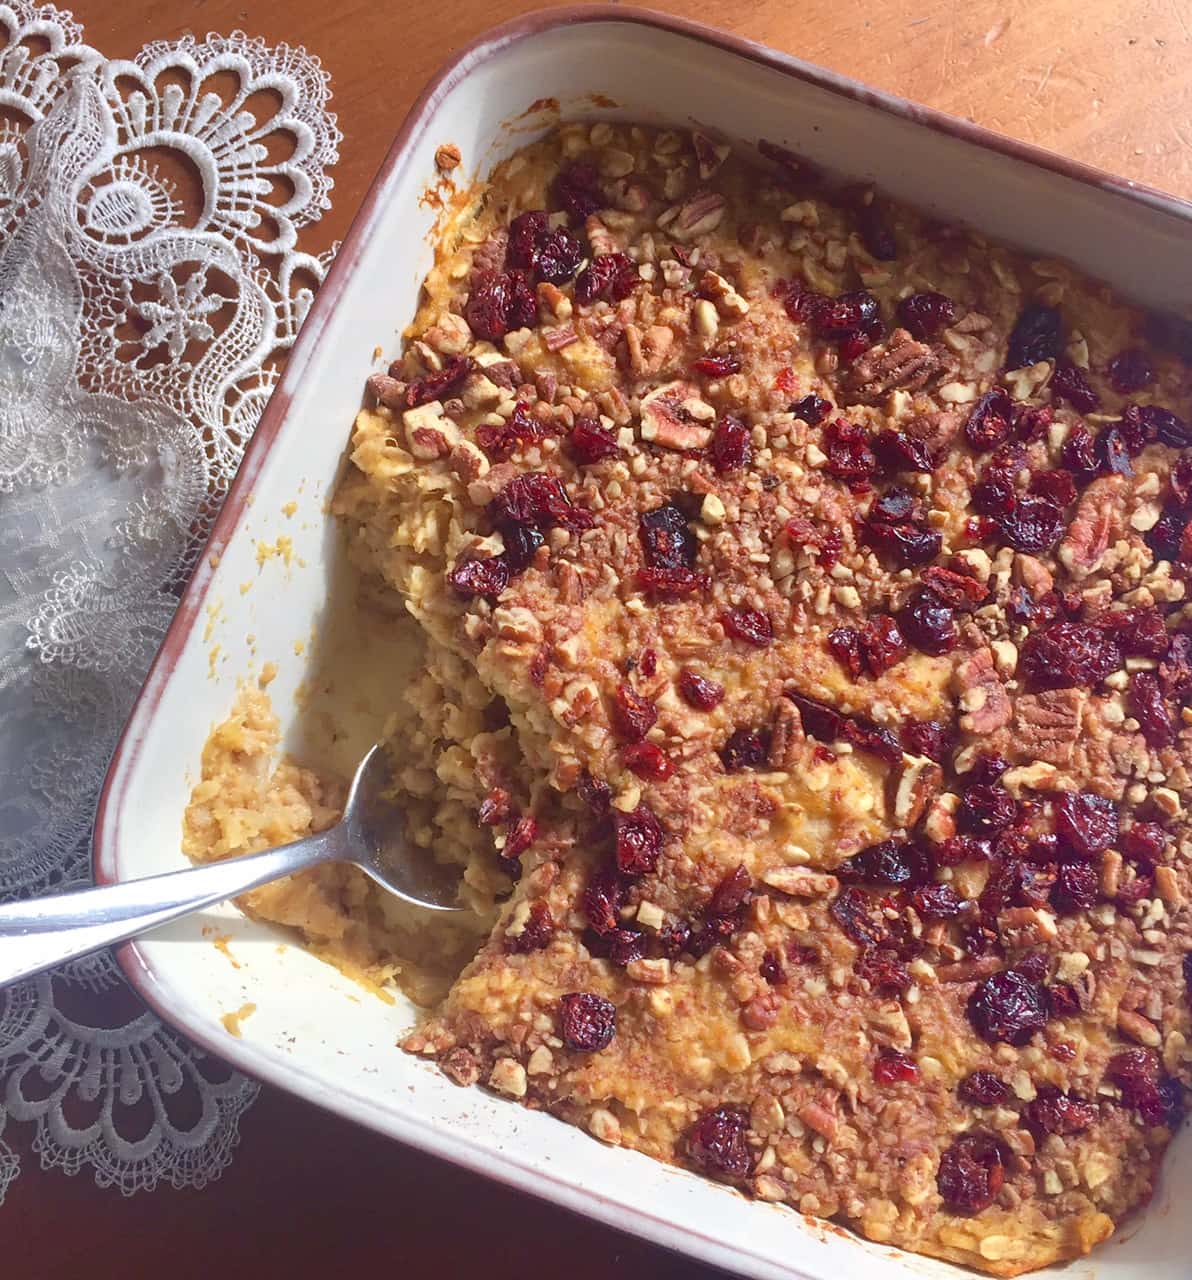
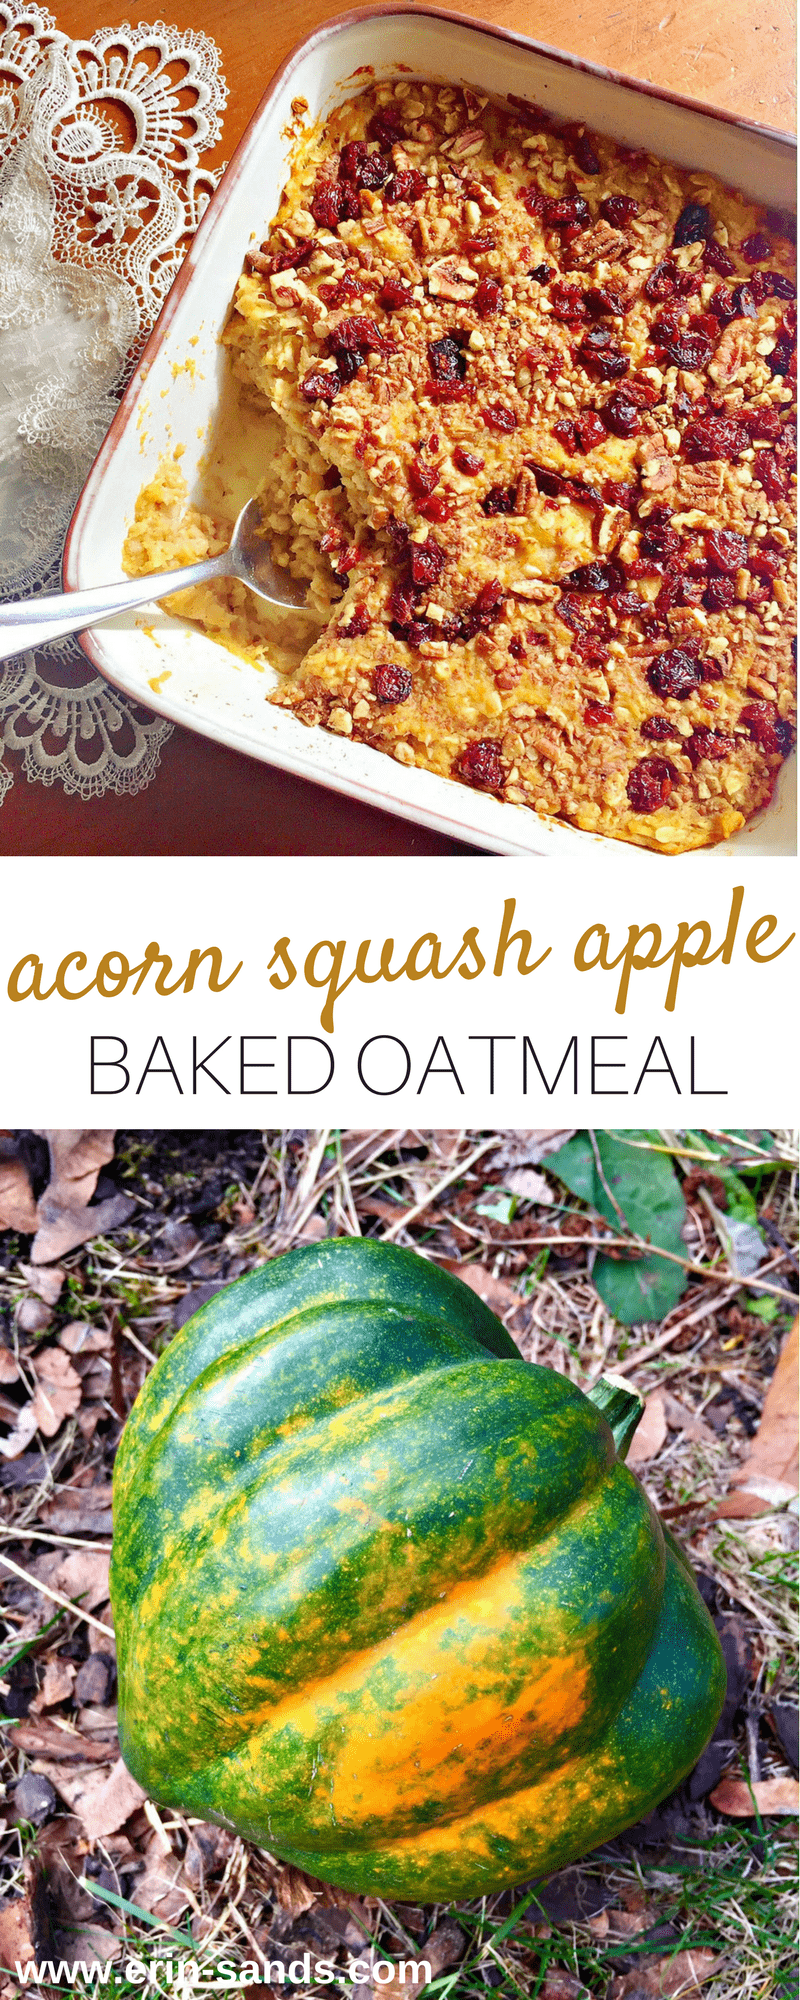
Acorn Squash Apple Baked Oatmeal

acorn squash baked oatmeal

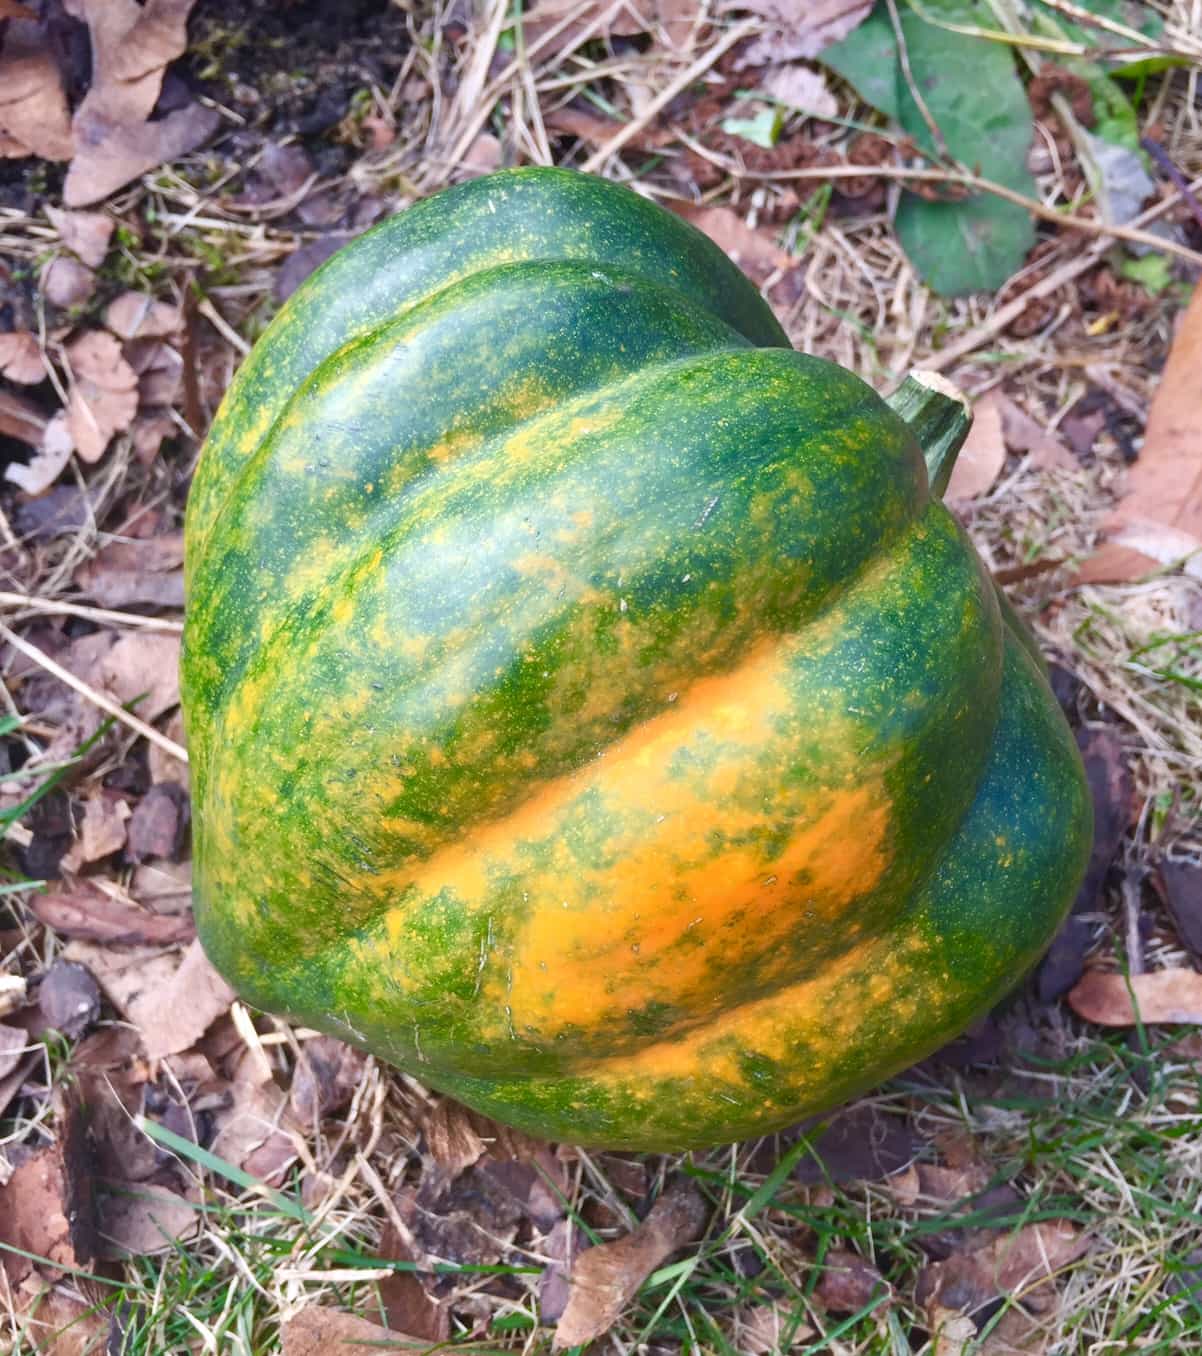
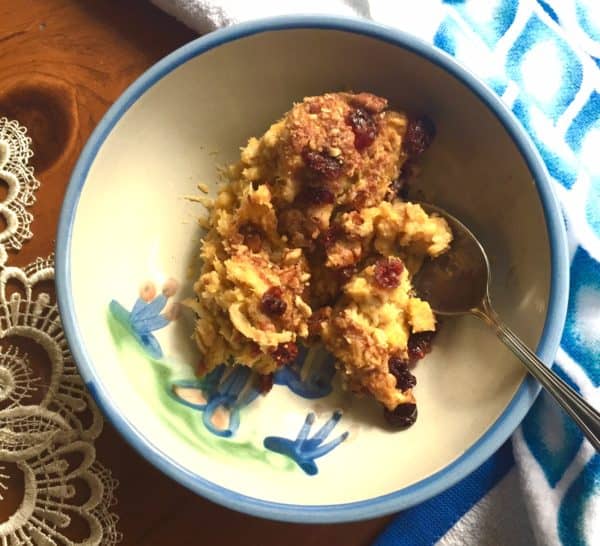
Acorn squash in my oatmeal?  Yup, that sweet nutty flavor is warming and delicious in oatmeal and a great way to add loads of nutrients into your breakfast to start your day!

Acorn squash contains powerful antioxidants and anti-inflammatory properties! It’s also packed with fiber, Vitamin C as well as magnesium and potassium.  It helps regulate your blood sugar which helps keep the weight off and conquers those cravings!  Winter squash has also been shown to have clear potential in the prevention and treatment of cancer.

Acorn squash oatmeal

My kids loved this hearty, filling breakfast. I may not have mentioned it was made of squash until after their plates were cleaned empty!  They’re getting there…

Print Recipe
Acorn Squash Apple Baked Oatmeal
Acorn squash oatmeal
Course Breakfast
Prep Time 20 minutes
Cook Time 70 minutes
Servings
people
Ingredients
Course Breakfast
Prep Time 20 minutes
Cook Time 70 minutes
Servings
people
Ingredients
Acorn squash oatmeal
Instructions
  1. Preheat oven to 375°.
  2. Half acorn squash, scrape out the seeds, and brush with oil or ghee.
  3. Place flesh side down on baking sheet and bake for 35 minutes until soft.
  4. Meanwhile, in a large bowl, combine oats, cinnamon, baking powder, ginger, nutmeg, and salt.
  5. When squash is soft, remove skin and mash in a medium bowl until smooth. Add coconut milk, honey, vanilla and apple.
  6. Add wet ingredients to dry ingredients and stir. Place into a greased casserole dish and press mixture down with a spoon.
  7. Sprinkle nuts and cranberries on top.
  8. Lower oven to 350° and bake for 35 minutes.
  9. Allow to cool for 10 minutes and serve.
Recipe Notes

*This recipe was inspired by Oh She Glows Carrot Cake baked Oatmeal.

Share this Recipe
Acorn Squash Apple Baked Oatmeal
gluten free blueberry muffins

Best Gluten Free Blueberry Muffins

gluten free blueberry muffins

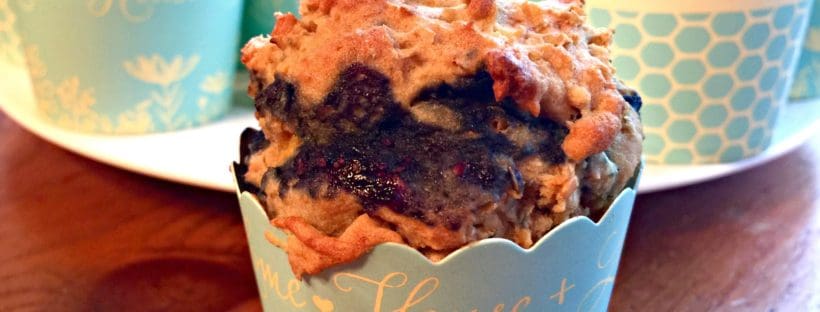
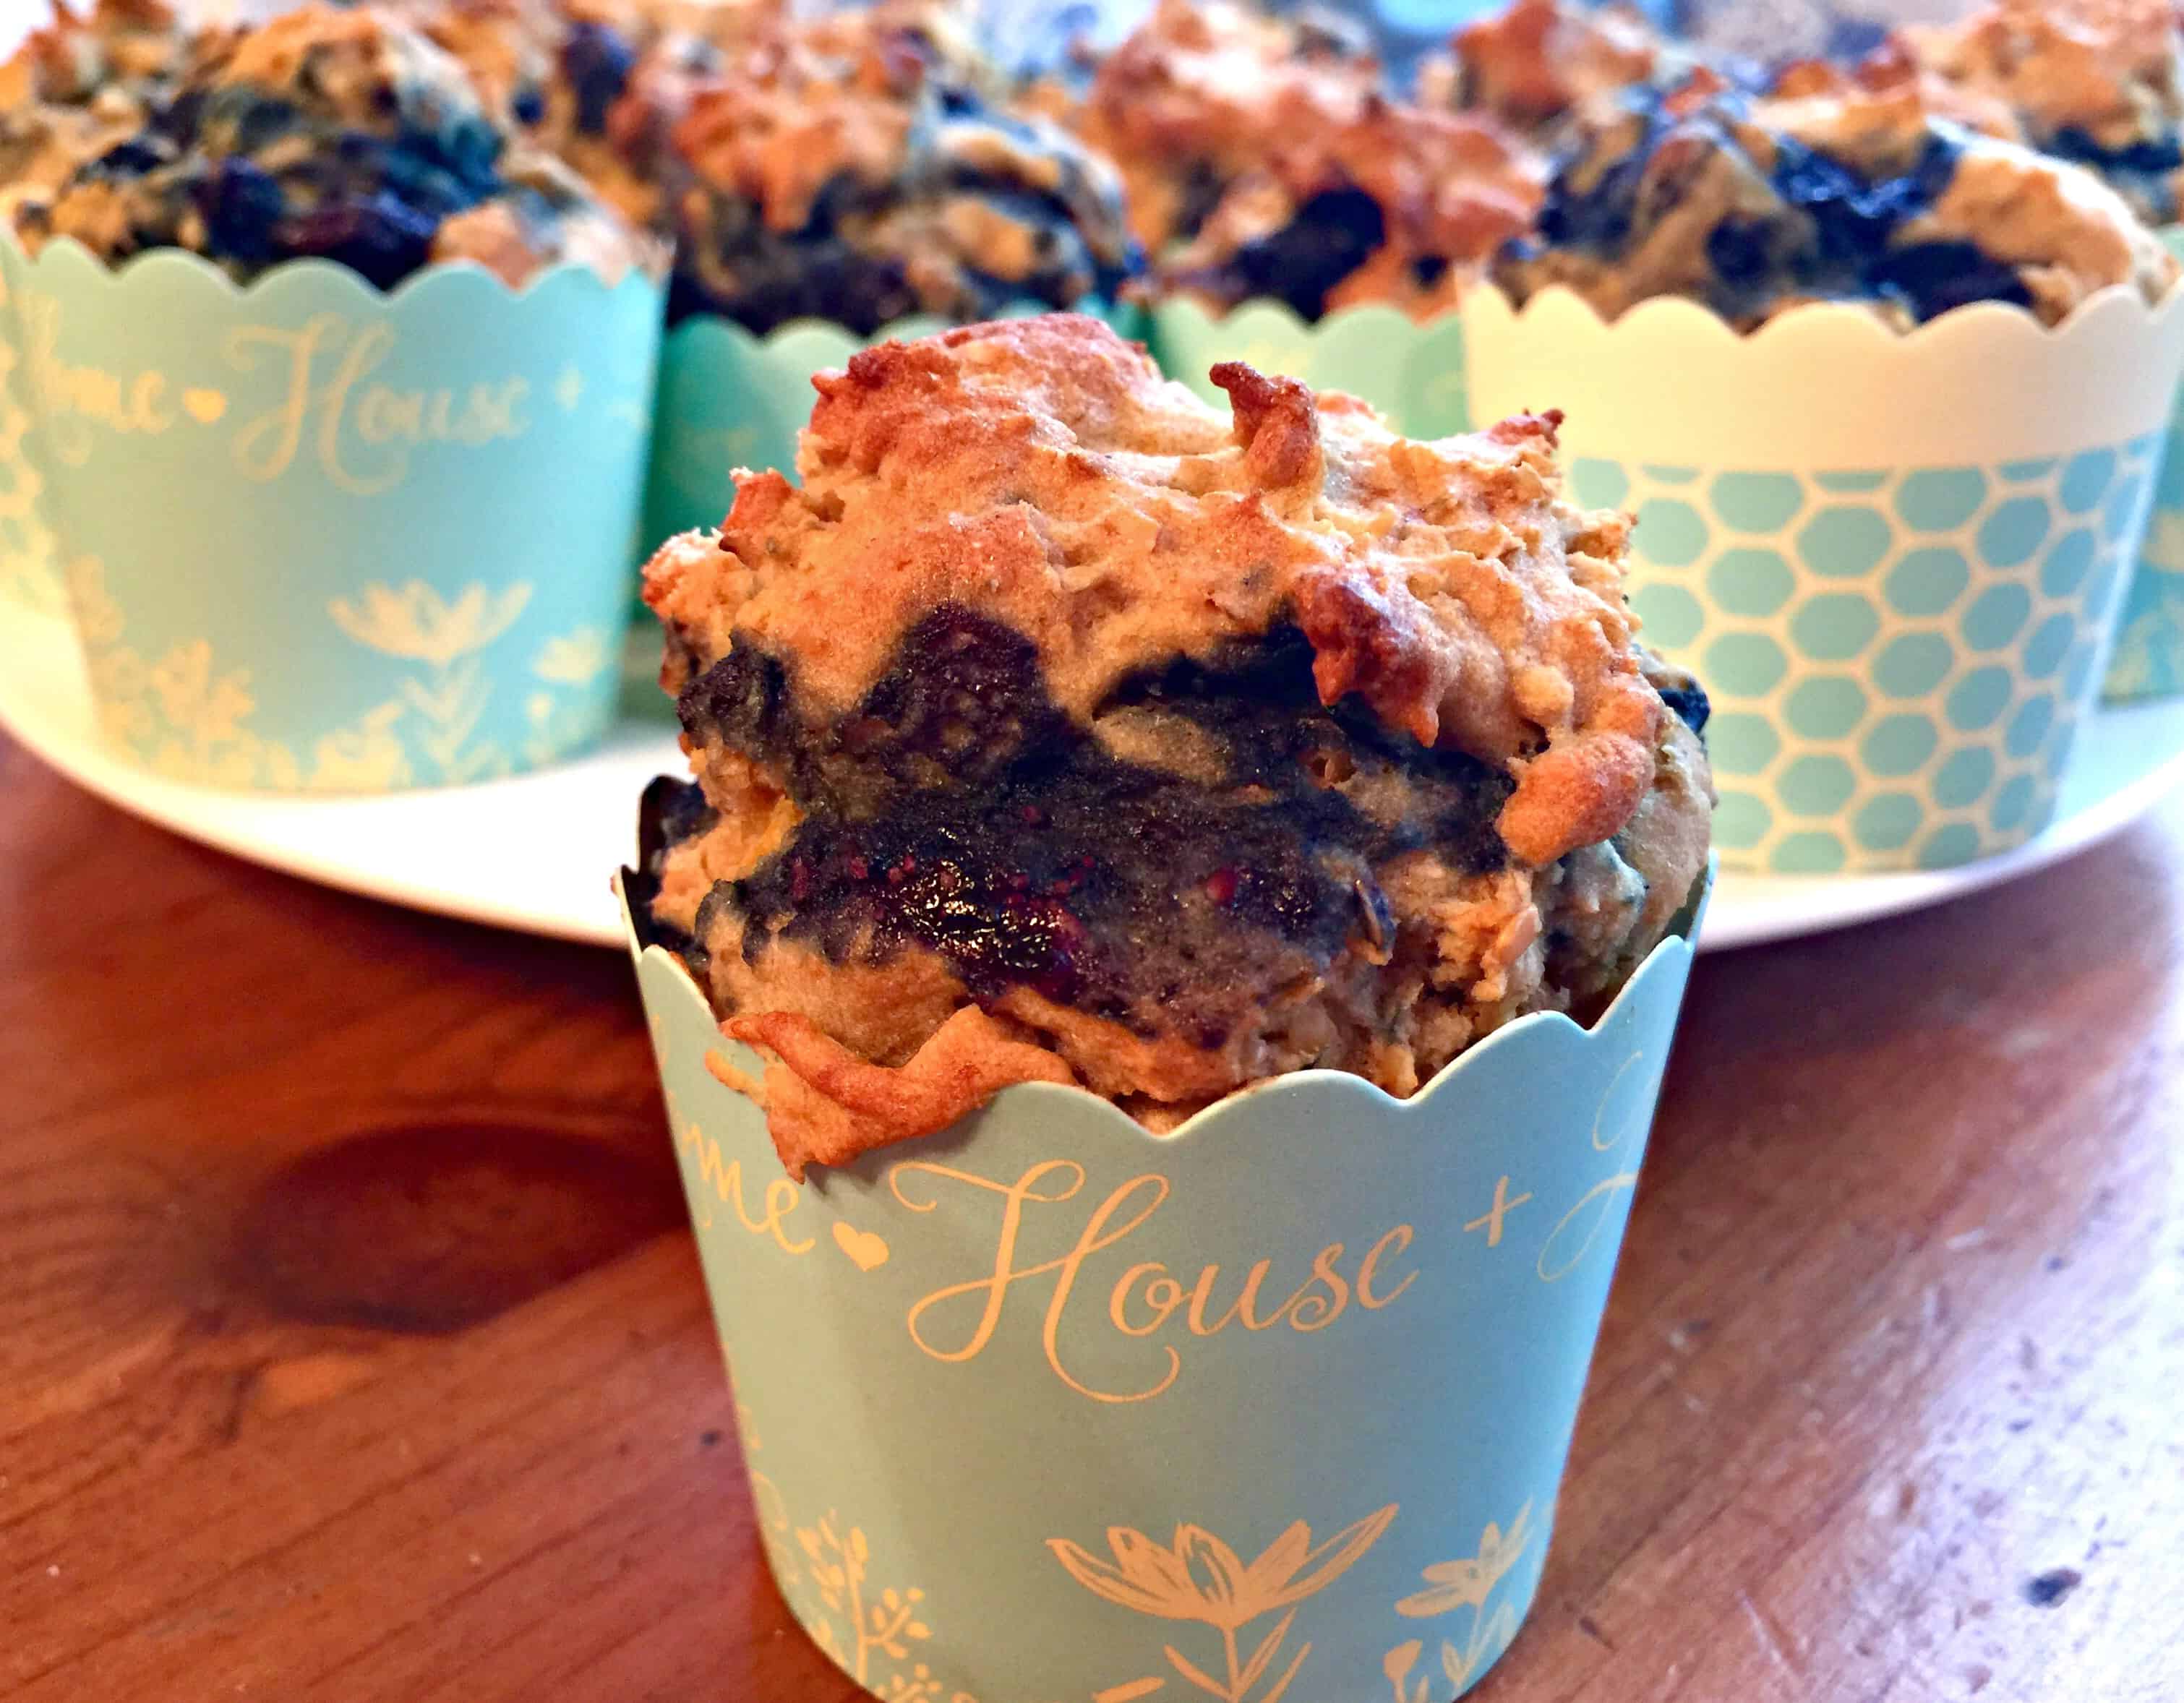
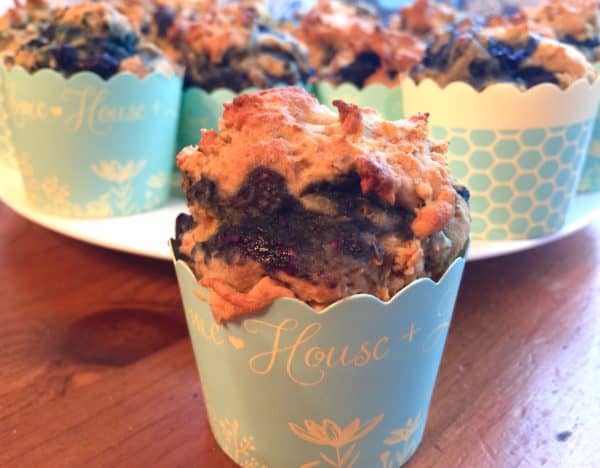
I had heard the brand Cup4cup Gluten Free Wholesome Flour Blend was good, but I thought it was a little pricey.  I came across it at Stop and Shop though, and figured I would give it a try in my Best Blueberry Muffin recipe.  I was not disappointed!

These muffins really are the best because they are loaded with blueberry flavor! Last year I became obsessed with The Great British Bake-Off on PBS for two reasons. Number 1: I love baking and number 2: because I love all things British!  Well, I noticed that they were always making jam (with no recipe, by the way, just berries and sugar).  Since gluten free baking can often come out dry in texture, I got the idea that adding a blueberry jam to these muffins would not only add flavor but moisture too!

The Cup4cup Gluten Free Wholesome Flour Blend was also a winner, as these came out with the taste and texture of a whole wheat muffin, plus this flour is a healthy GFree alternative as it has a lot of fiber in it, since it is whole grain and contains ground flaxseeds.

Print Recipe
Best Gluten Free Blueberry Muffins
Gluten free blueberry muffin
Course Breakfast, Dessert
Prep Time 15 minutes
Cook Time 18 minutes
Servings
muffins
Ingredients
Course Breakfast, Dessert
Prep Time 15 minutes
Cook Time 18 minutes
Servings
muffins
Ingredients
Gluten free blueberry muffin
Instructions
  1. Preheat oven to 375 degrees.
  2. Line standard muffin tin with liners.
  3. Add 1 teaspoon apple cider vinegar to almond milk and let sit while cooking berries.
  4. Bring 1 cup of blueberries and coconut sugar to a simmer in a small pot. While it is cooking, mash the berries with spoon, and reduce the mixture for about 6 minutes until it is thickened. Allow to cool about 10 minutes.
  5. In a large bowl, mix flour, baking powder, baking soda, lemon zest, and salt. *If using frozen berries, rinse them under cold water before adding them to the flour mixture now.
  6. In a separate bowl whisk eggs with almond milk, maple syrup, applesauce, coconut oil, and vanilla.
  7. Fold wet ingredients into dry ingredients along with 1 cup of remaining blueberries just until combined.
  8. Fill muffin cups 2/3 full. Then spoon about a teaspoon of blueberry jam onto each muffin. Using a skewer, swirl cooked blueberries into the batter, then top with remaining batter, divided evenly.
  9. Bake for 17-19 minutes. Cool.
Share this Recipe