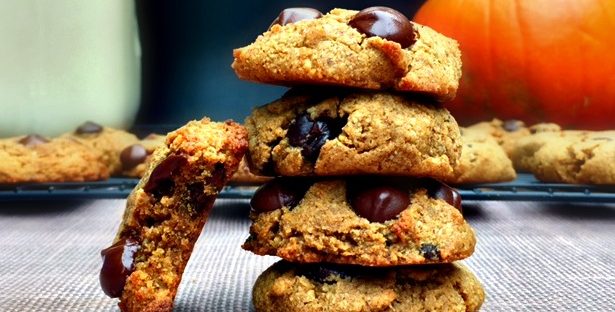
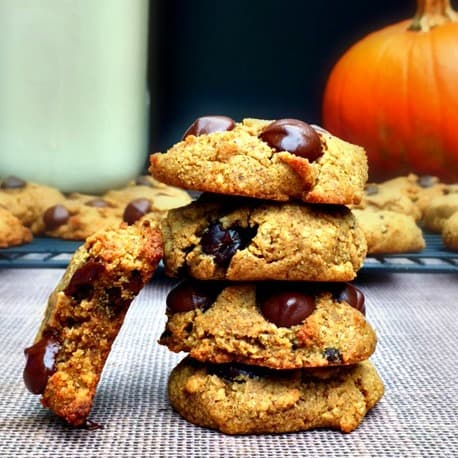
gluten-free almond biscotti

Gluten-Free Almond Biscotti

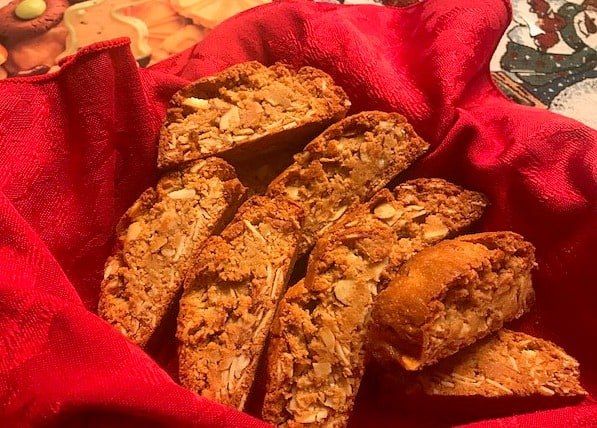
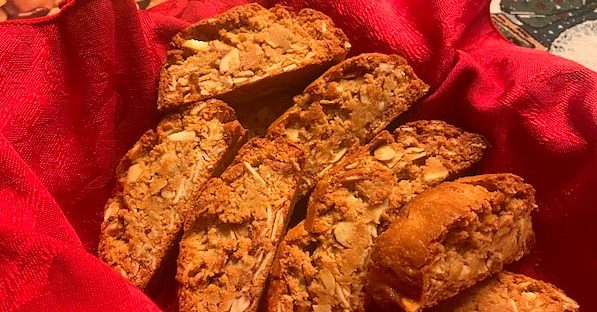
These Italian cookies are just as delicious made with almond flour as they are with wheat flour. In fact, I think the almond flavor really comes through better with almond flour.  These cookies take a little time since they have to go into the oven twice, but they are super simple to make! Twice baking these Almond Biscotti gives them a nice crispy crunch, perfect for dunking into a hot cup of tea or Dandy Blend!
Print Recipe
Gluten-free Almond Biscotti
gluten-free almond biscotti
Servings
cookies
Ingredients
Servings
cookies
Ingredients
gluten-free almond biscotti
Instructions
  1. Preheat oven to 375 degrees.
  2. Sift together flours and baking powder in a medium bowl.
  3. In a large mixing bowl, beat the ghee on medium speed till softened. Add sugar, maple syrup, eggs, and vanilla. Beat until thoroughly combined.
  4. Add flour and mix until combined. Add almonds and stir.
  5. Divide dough in half. With wet hands, shape each portion into a loaf about 9 inches long and 2 inches wide and place on a parchment-lined baking sheet. Stir the egg yolk together with the water and brush it over each loaf.
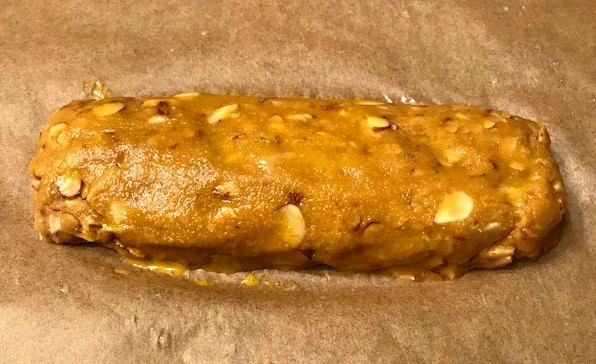
  6. Bake for 25 minutes. Cool on the cookie sheet for 30 minutes. Reduce the oven temperature to 325 degrees.
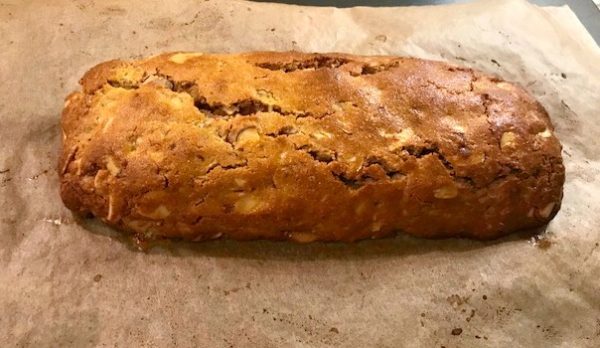
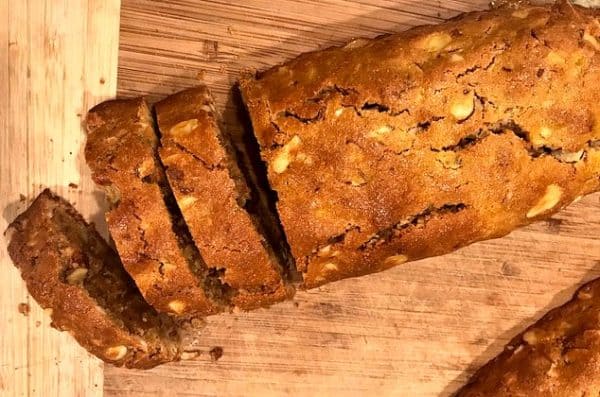
  7. After 30 minutes of cooling, carefully cut each loaf into 1/2 inch slices. Lay slices cut side down back onto the cookie sheet. Bake in the oven 8 minutes. Turn slices over and bake another 8-10 minutes till dry and crisp. Cool cookies on a wire rack.
  8. Store in a cool dry place.
Recipe Notes

Optional: You can add in a teaspoon of anise extract or a 1/2 teaspoon of almond extract for a stronger flavor. You can also swap out the almonds for hazelnuts for a different variety.
Share this Recipe

Apple rose tart

Apple Rose Tart

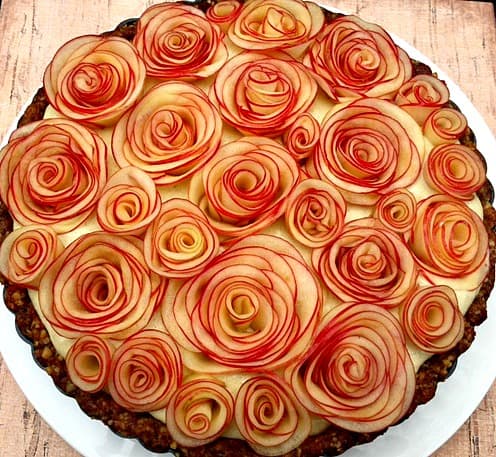
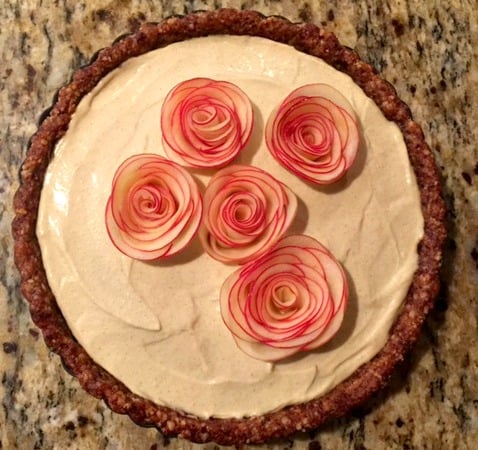
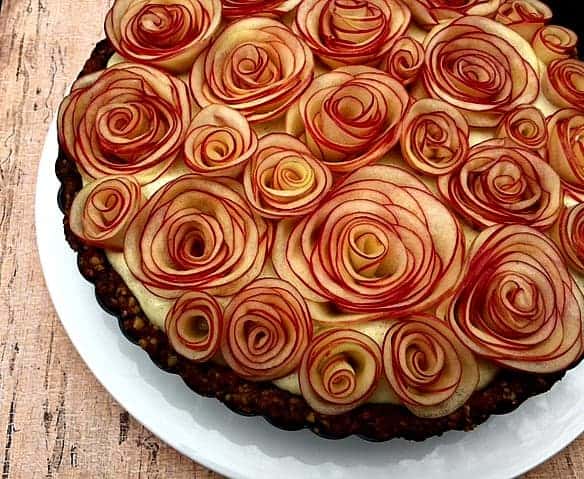
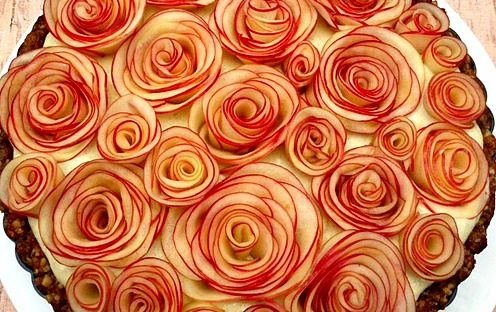
Ok, I’m getting fancy on you now, but it’s the holidays! This  Apple Rose Tart is a showstopper and although it may look complicated,  it is actually very simple to make. It does take a little time to roll the apples, but it can be prepared a day in advance.  The combination of dairy-free custard, with the nutty crust, and the sweet apples is delicious!

rose tart

Print Recipe
Apple Rose Tart
Apple rose tart
Course Dessert
Servings
People
Ingredients
Crust
Custard Filling
Apple Rose Topping
Course Dessert
Servings
People
Ingredients
Crust
Custard Filling
Apple Rose Topping
Apple rose tart
Instructions
Crust
  1. Preheat the oven to 350 degrees.
  2. Put the walnuts and dates in a food processor and pulse about 20 times until you have a crumbly paste. Press the crust into the bottom and sides of a tart pan or a pie pan.
  3. Bake for 15-20 minutes. Cool to room temperature.
Maple Custard
  1. In a medium bowl whisk egg yolks, syrup, and salt.
  2. In a medium saucepan, whisk coconut milk and arrowroot in a medium saucepan. Heat over medium heat until just bubbly and starting to thicken.
  3. Pour 1/3 cup hot milk into the egg yolks, whisking constantly. Pour egg yolks back into the pan and heat until just bubbly. Remove from heat.
  4. Place custard, vanilla, and gelatin in a blender or food processor and blend until combined. Pour custard through a fine mesh strainer into a bowl.
  5. Place custard in a bowl and press plastic wrap directly on to the surface. Refrigerate at least 4 hours.
  6. When ready to place roses, spread custard evenly into the crust.
Apple Roses
  1. Core and slice apples very thin on a mandoline or with a very sharp knife.
  2. Combine honey and orange juice. Soak apples in juice for about 5 minutes, just until pliable, then strain.
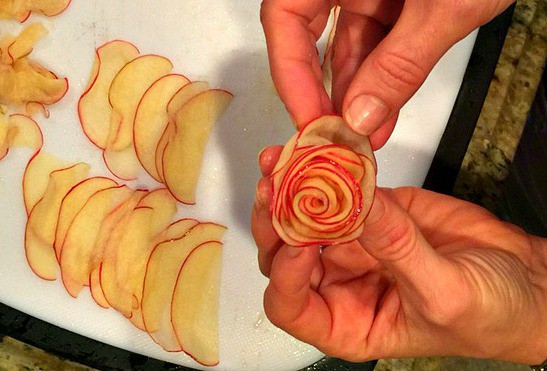
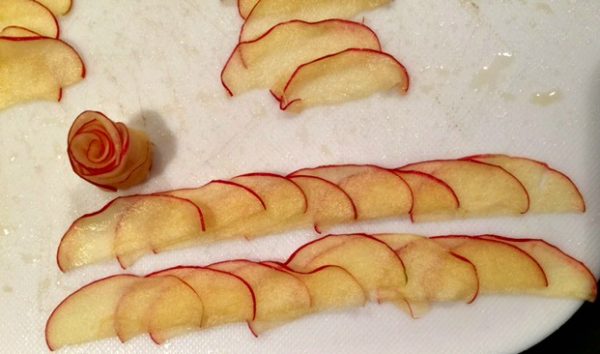
  3. Arrange about 8 apple slices in a long row and roll them up. Wrap a few more slice around the outside to create a rose.
  4. Make a variety of sizes and some small rolls to fill in empty spaces.
    rose tart
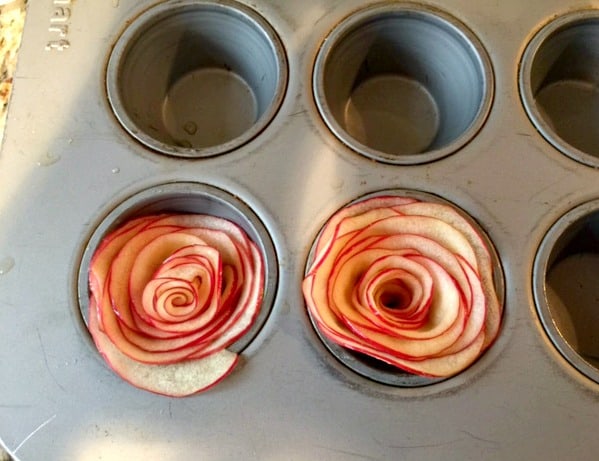
  5. Place roses in a mini muffin tin to hold, while you are preparing them all.
  6. Place roses on top of the custard. Fill in spaces with smaller rolls. Cover and refrigerate till ready to serve. enjoy!
Share this Recipe


Dairy Free Cheesecake

Dairy-Free Cheesecake

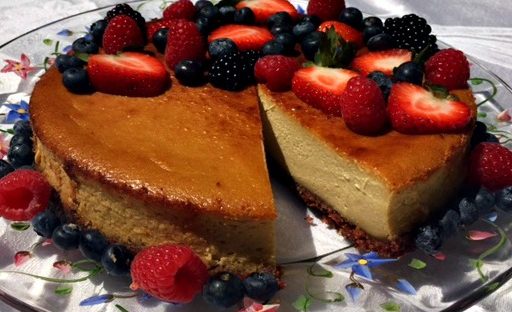
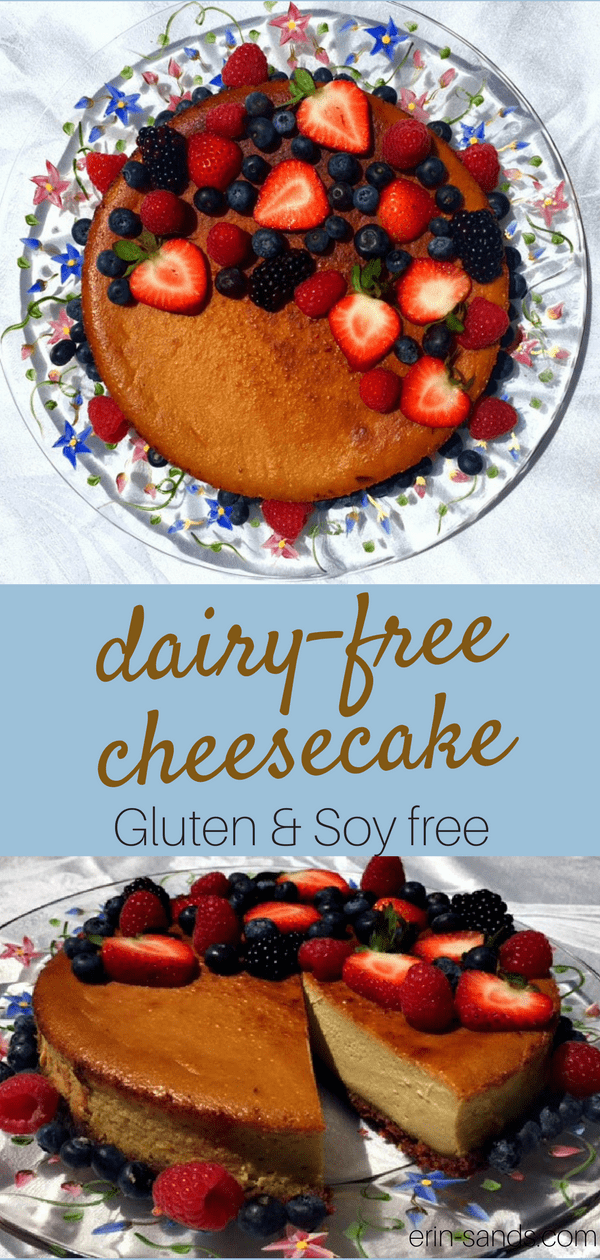
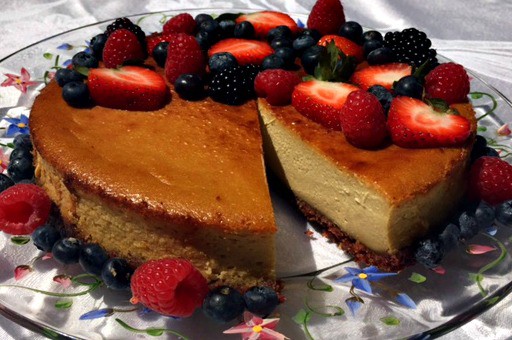
Dairy-free cheesecake seems like an impossible task, but this recipe came out so creamy and delicious, I plan on making this for my next holiday! The addition of chickpeas gives this cake a velvety texture, but you would never know they are in there.

I also used the technique I learned from Americas’s Test Kitchen for their Foolproof Cheesecake, and the same technique worked beautifully here to create a suede-like texture. It calls for baking the cake at a low temperature for several hours and then blasting it with heat to create a souffle effect. I tried this technique with a cup of chickpea brine instead of the eggs and it worked just as well.

Dairy-free cheesecake

This recipe is going to need 12 hours because it will need to chill, so it should be made 24 hours in advance. Dazzle your guests with this amazing Dairy-free cheesecake!

Print Recipe
Dairy-Free Cheesecake
Dairy Free Cheesecake
Cook Time 3 1/2 hours
Servings
servings
Ingredients
Crust
Filling
Cook Time 3 1/2 hours
Servings
servings
Ingredients
Crust
Filling
Dairy Free Cheesecake
Instructions
Crust
  1. Grease a springform pan with coconut oil. Line the bottom with a piece of parchment paper and then lock it into the pan.
  2. Process all crust ingredients in a food processor into a fine sticky crumble. Press into the greased pan and form an even crust on the bottom with your hands. Set aside.
Filling
  1. Preheat oven to 200 degrees. (An oven thermometer is helpful to maintain this low temp.)
  2. Mix all filling ingredients in a high-speed blender or food processor.
  3. Pour the filling through a fine-mesh strainer into a large bowl. Use a rubber spatula to push it through and filter out any unprocessed bits.
  4. Pour filling into crust and let set for 10 minutes to allow any air bubbles to rise to the surface. After 10 minutes, run a fork gently over the top to pop the bubbles.
  5. Bake the cheesecake on the lower rack for 3 hours until set. Remove the cake from the oven and raise the temperature to 500 degrees. Return the cake to the oven and bake for an additional 4-8 minutes until it is evenly browned.
  6. Let cool on a wire rack for 5 minutes. Run a small knife between the cake and the pan. Continue to cool another 3 hours. Wrap with parchment and refrigerate overnight until cold and set.
  7. To unmold cheesecake, remove the sides of the pan. Slide a large spatula under the cake and remove the parchment. Transfer the cake to a serving plate.
Recipe Notes

This cake can be made ahead and frozen, covered tightly.

Share this Recipe


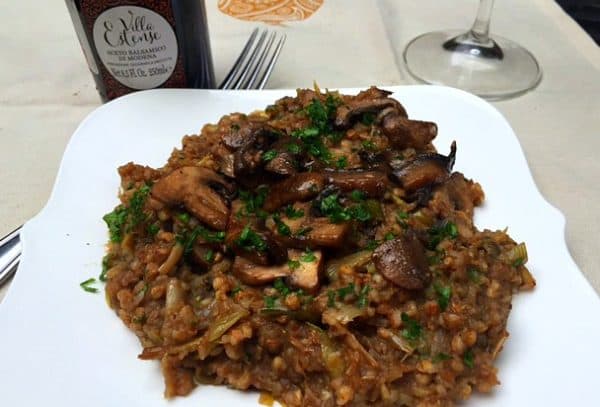
mushroom buckwheat risotto

Mushroom Buckwheat Risotto with Balsamic

Print Recipe
Mushroom Buckwheat Risotto with Balsamic
mushroom buckwheat risotto
Cook Time 20 minutes
Servings
servings
Cook Time 20 minutes
Servings
servings
mushroom buckwheat risotto
Instructions
  1. In a small pan, boil the balsamic vinegar on medium-high until reduced to 2 tablespoons, about 10 minutes.
  2. Heat stock in a medium sauce pan, and keep at a simmer.
  3. In a Dutch oven or large saucepan, heat ghee over medium heat. Add the mushrooms and saute until they are lightly browned and all of their liquid has evaporated. Remove from pan and set aside.
  4. Heat 2 tablespoons of remain ghee or olive oil. Add leek, and cook until softened about 10 minutes. Add garlic and thyme and stir for one minute,
  5. Add buckwheat and toast for about 1-2minutes. Add all of broth to risotto, reduce heat, cover and simmer until all of liquid is absorbed, about 10-15 minutes until buckwheat is al dente. Uncover and a ladel of water if pan is dry.
  6. Turn off heat. Gently stir in mushrooms, parsley, and nutritional yeast. Drizzle a little fresh olive oil on top and serve.
Share this Recipe
pumpkin pie

Dairy- free Honeynut Squash Pie Recipe (Better than Pumpkin)

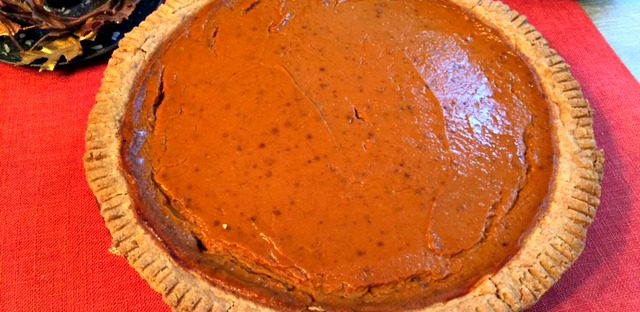
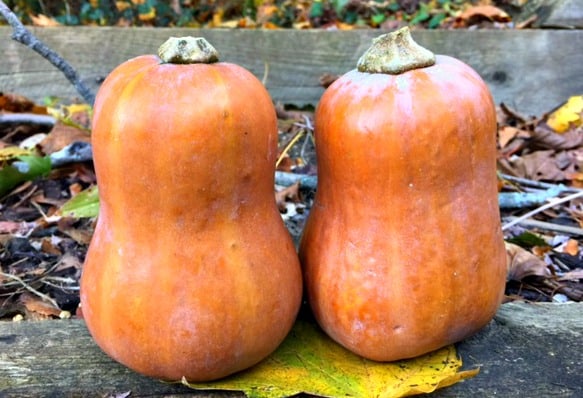
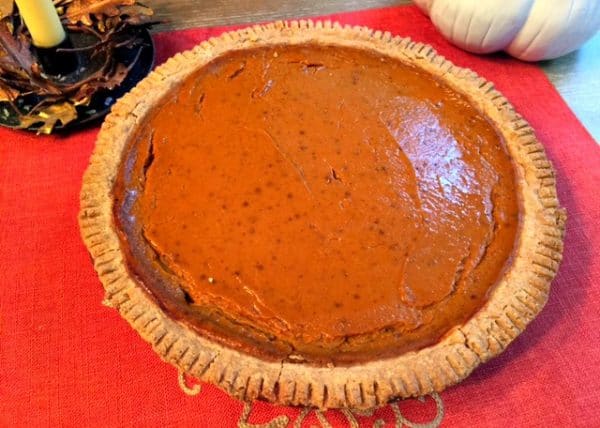
I found these adorable little organic butternut squash at Trader Joes. I cooked them stuffed with quinoa and kale, and tried them in this recipe instead of pumpkin. It has a smoother texture than pumpkin and a slight honey taste . Its sweetness makes for a delicious Honeynut Squash Pie!

honey nut squash

“Michael Mazourek, a plant breeder at Cornell University, takes his cues from cooks to breed new ingredients that are flavorful, nutritious, resilient, and high-yielding. Together, we’ve collaborated on a number of experimental varieties, including the Honeynut squash, a butternut squash cross that fits in the palm of your hand and has about ten times the sweetness and squash flavor of the workaday butternut.”
—Dan Barber, Blue Hill, NYC

Thanks, Christine, for the tip on using evaporated coconut milk! Regular coconut milk will work just as well if you can’t find it, and you can swap out pumpkin or butternut  squash instead. Trader Joes assured me they would have these through Thanksgiving. You will need two to three for a pie.

Print Recipe
Honeynut Squash Pie
pumpkin pie
Cook Time 1 Hour
Servings
Servings
Ingredients
Cook Time 1 Hour
Servings
Servings
Ingredients
pumpkin pie
Instructions
  1. Preheat the oven to 400 degrees. Cut the squash in half and scoop out the seeds. Place squash face down on a parchment lined pan. Add about a 1/4 cup of water to the pan and bake for 30 minutes until soft when poked with a fork.
  2. Prepare gluten-free pie crust and place in freezer while preparing filling. (https://erin-sands.com/gluten-free-pie-crust/)
  3. Raise oven to 425 degrees.
  4. Allow squash to cool enough to handle it. Remove flesh from skin and place in a food processor or blender. You want about 2 1/2 cups purée.
  5. Add remaining ingredients and process until smooth and blended. Pour filling into pie crust and spread smooth.
  6. Bake at 425 for 15 minutes. Reduce heat to 350 and bake about 45 minutes more until just set. Crust should be golden brown and there should be a few cracks in the filling.
  7. Remove from oven and cool completely. Cover and place in refrigerator at least 3 hours.
  8. Enjoy!
Share this Recipe
Gluten Free Pumpkin Maple Bread

Gluten-Free Pumpkin Maple Bread

Print Recipe
Gluten-Free Pumpkin Maple Bread
Gluten Free Pumpkin Maple Bread
Prep Time 15 minutes
Cook Time 65-70 minutes
Servings
large loaf
Ingredients
Prep Time 15 minutes
Cook Time 65-70 minutes
Servings
large loaf
Ingredients
Gluten Free Pumpkin Maple Bread
Instructions
  1. Preheat oven to 350 degrees.
  2. Whisk or sift all dry ingrediets into a medium bowl. In a separate bowl, whisk together all wet ingredients. Combine wet ingredients with dry ingredients and add nuts if desired.
  3. Pour into greased loaf pan and bake for 65-75 minutes.
Recipe Notes

GLUTEN-FREE FLOUR BLEND

You can buy an all-purpose gluten-free flour blend, but I mix up my own big batch of whole grain gluten-free flours that I keep handy in a large jar to easily whip us recipes like these:

Makes 2 1/2 cups

  • ¾ cup oat flour
  • ¾ cup brown rice flour
  • ½ cup sorghum flour
  • ¼ cup teff flour
  • ¼ cup arrowroot starch/flour
Share this Recipe


home cooked meals

Why Cook Homemade Meals?


Just recently my mother told me about a report she saw on TV that food cooked from scratch isn’t any better than processed food. In fact, you would have to eat tons and tons of processed food for it to cause any harm to your body, she said. Really? Isn’t that what most Americans are doing? And who funded this study anyway? I checked. A well-known BIG food and beverage company funded it. Always look at who is making claims you see on TV and the internet.

Finding the Time

I had a recent discussion with a fellow homeschool mom asking me how I find the time or the energy to cook things from scratch and make home-cooked meals every day. I too am on the roller coaster of homeschooling, kid’s activities, church activities, household chores, and running my own business. I do not have “supermom” powers. It’s really all about priorities. It isn’t just the know-how and organization skills that make me do it, however, that helps tremendously. It is because of the “WHY”.

I will not eat or feed my family processed food.

I really believe that processed food truly hurts our bodies and our health. I will go so far as to consider it poison to our bodies. I have learned and studied enough for a long time to truly have an understanding of what processed food, gluten, dairy, and GMO’s do to our bodies. They make us sick. So many of us don’t see the slow-death it causes until we are diagnosed with some disease. Because I know what is in these foods, I can not feed them to my family.

Benefits of scratch cooking

  1. Saves Time – It may seem like grabbing something at a fast food restaurant saves time. In reality, by the time it takes you to order and drive to pick it up, you could have cooked a homemade meal, especially if you plan ahead. There are so many meals that can be made in less than 30 minutes. Try batch cooking or doubling a recipe and freezing it for a ready meal on those busy days.
  2. Saves Money – Homemade foods are usually cheaper than eating at a restaurant or buying processed foods. Making a grocery list and sticking to it helps us avoid buying extra food which may have to get thrown out if it is never used. If you make a plan, it takes the stress out of deciding, “What’s for dinner?”
  3.  Healthier ingredients – Processed foods contain very high amounts of salt, sugar, and fat. When you cook at home, you know exactly what is going into your food. Keep it simple.
  4.  Portion Control – Portions in restaurants are always larger than what you need. Supersize anyone? Often you will eat all that is in front of you. At home, you can control your own portions.
  5. Eating Together as a Family – I strive for this every day as I know eating together is healthier for all of us. We sit at a table and eat food with a fork and a knife. Everyone can talk about their day and connect as a family. Our fast-paced lives have made eating something we have to squeeze into our day while we are sitting in a car. Share at least one meal a day with your family. Bring your kids into the kitchen and teach them how to cook too.

My strong opinions on what is healthy are what drives me to take the time to cook meals in advance, make everything from scratch, and never buy processed or fast food. I have made it a priority. They have to eat, so what am I going to feed them? I have learned to batch cook. I use meal planning and vegetable prep. Here is my article on Meal Prep Tips and Tricks to help you. Let’s all get back into our kitchens and find the satisfaction we get from homecooked meals.

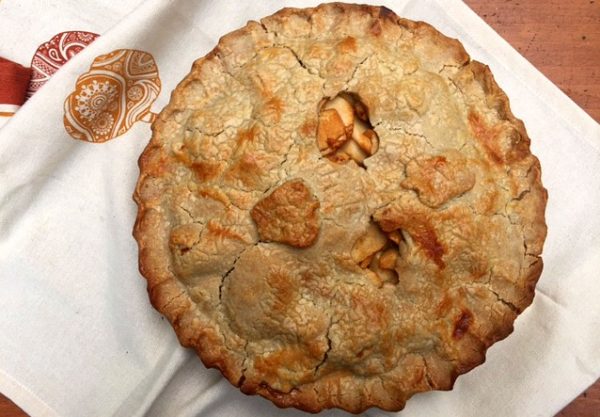
Perfect Gluten-free Apple Pie

Perfect Gluten-free Apple Pie

Print Recipe
Perfect Gluten-Free Apple Pie
Perfect Gluten-free Apple Pie
Prep Time 15 minutes
Cook Time 45 minutes
Servings
Ingredients
Prep Time 15 minutes
Cook Time 45 minutes
Servings
Ingredients
Perfect Gluten-free Apple Pie
Instructions
  1. Preheat oven to 425º.
  2. Prepare pastry for 2-crust pie.
  3. In a large bowl, combine all filling ingredients and toss lightly. Spoon into pastry lined pan. Top with remaing pastry. Press together at edges to seal. Create a flute design on the edge of press gently with a fork all around the edge. Cut slits in top of pastry.
  4. For a shiny crust, brush it with a wash of egg white beaten with 1 teaspoon of water.
  5. Bake for 40-45 minutes
Share this Recipe
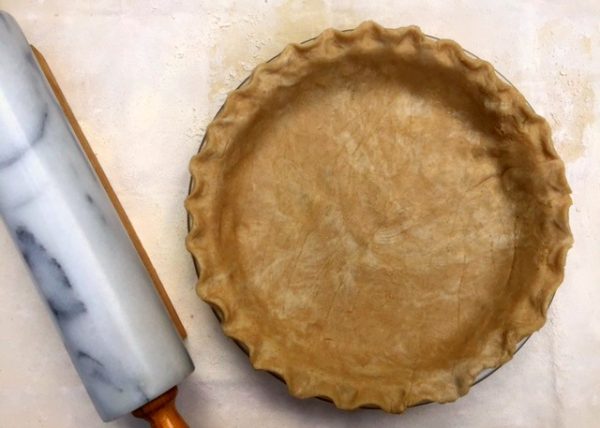
Gluten-free Pie Crust

Gluten-free Pie Crust

A perfectly flaky gluten-free pie crust relies on a combination of flours. You can use palm shortening here, cold coconut oil, or good old-fashioned lard from pasture-raised pigs, if you can find it. This pie crust freezes really well, so it can be made ahead. Try it with my Perfect Gluten-free Apple Pie!

Print Recipe
Gluten-free Pie Crust
Prep Time 10 minutes
Cook Time 30 minutes
Servings
pie crusts
Ingredients
Prep Time 10 minutes
Cook Time 30 minutes
Servings
pie crusts
Ingredients
Gluten-free Pie Crust
Instructions
  1. Sift all dry ingredients together. Add palm shortening and mix with a pastry tool or fork and blend until crumbly.
  2. Add water a tablespoon at a time and blend until dough holds together. It should feel slightly moist and stay together when pressed between two fingers.
  3. Divide dough in half. Flatten each into a disc and wrap in wax paper. Refrigerate for 30 minutes.
  4. Roll out pie crust between 2 pieces of wax or parchment paper. Transfer to pie pan and press gently into the pan. Don't worry if it breaks. You can just stick it back together.
  5. Top with an additional pie crust after adding your filling. Press edges together to seal. Brush with egg wash if desired. Flute edge to decorate. Pierce top crust and bake.
Pre-Baked Instructions
  1. Pierce crust with fork to prevent crust from shrinking. Alternatively, fill the crust with pie weights or dry beans and bake for 15 minutes at 450 degrees.
Recipe Notes

This pie crust can be made in advance and stored in the refrigerator or freezer.

Share this Recipe
Paleo pumpkin chocolate chip cookies 2

Paleo Pumpkin Chocolate Chip Cookies

It’s pumpkin season! Try these grain-free, dairy-free Pumpkin Chocolate Chip Cookies

Print Recipe
Paleo Pumpkin Chocolate Chip Cookies
Prep Time 30 minutes
Servings
dozen
Ingredients
Prep Time 30 minutes
Servings
dozen
Ingredients
Instructions
  1. Preheat oven to 350 degrees.
  2. In a medium bowl, sift or whisk together flours, salt, baking soda, and spices until well combined.
  3. In a separate bowl, whisk together sugar, almond butter, oil, pumpkin, egg, and vanilla. Add the dry ingredients and mix well. Stir in chocolate chips. Refrigerate dough for at least 15 minutes.
  4. Roll the dough into balls and place on parchment-lined baking sheets. Flatten each ball to about 1/2 inch thick. Bake for 11-13 minutes. Cool on a wire rack. Enjoy!
Share this Recipe