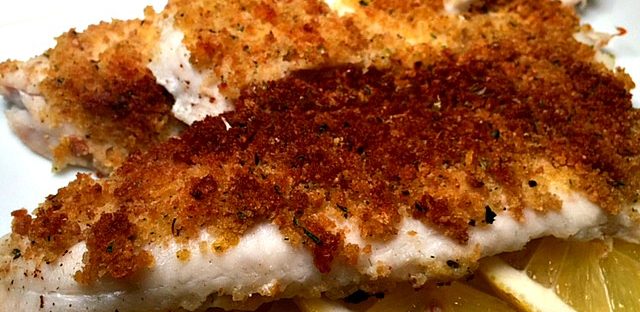
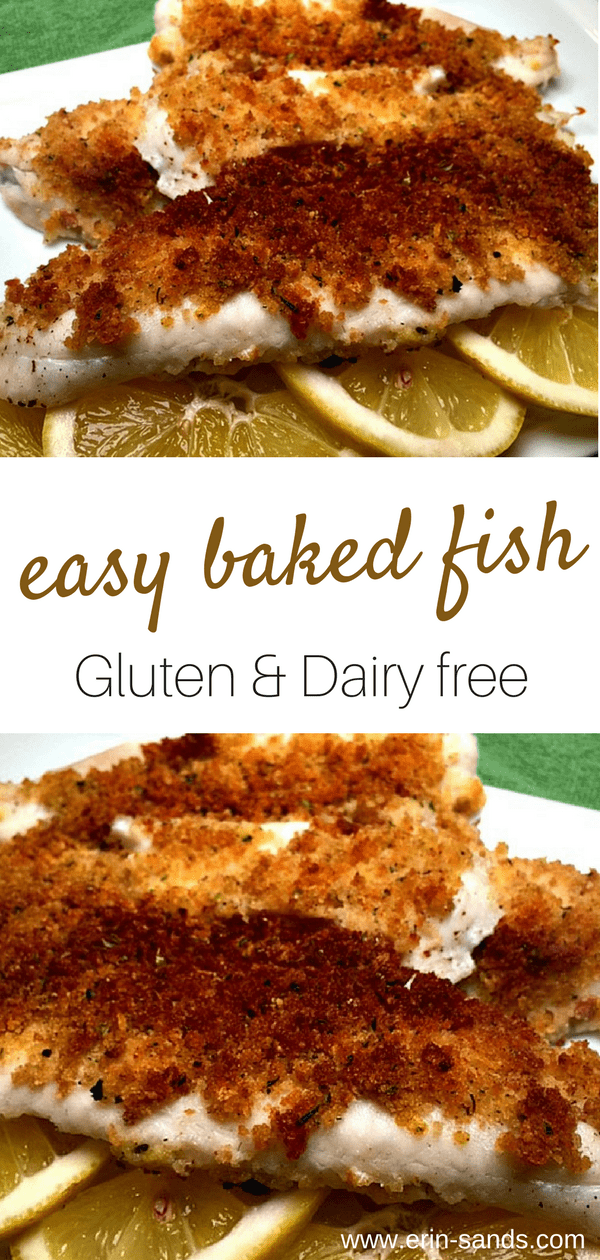
You can have this meal on the table in 15 minutes, paired with a side salad. This is a great use for that leftover almond meal from your homemade almond milk. You can dry the pulp in the oven at 150 degrees for about 4 hours. Process them in a blender to break up the clumps. You could also use gluten-free bread crumbs for this easy baked fish.
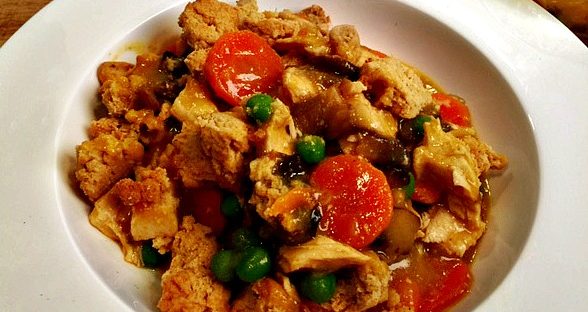
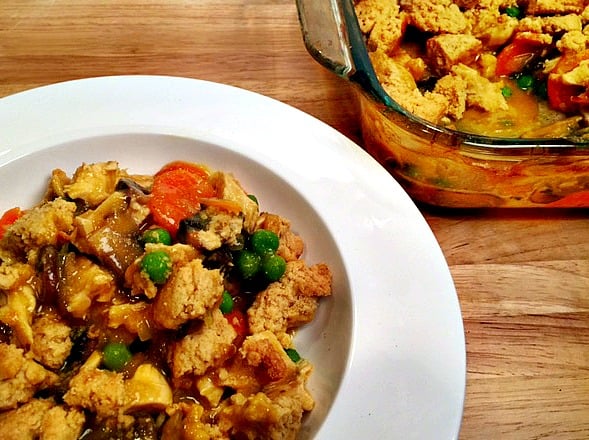
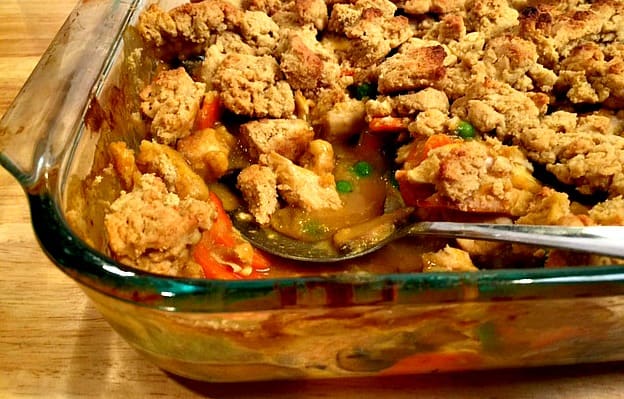
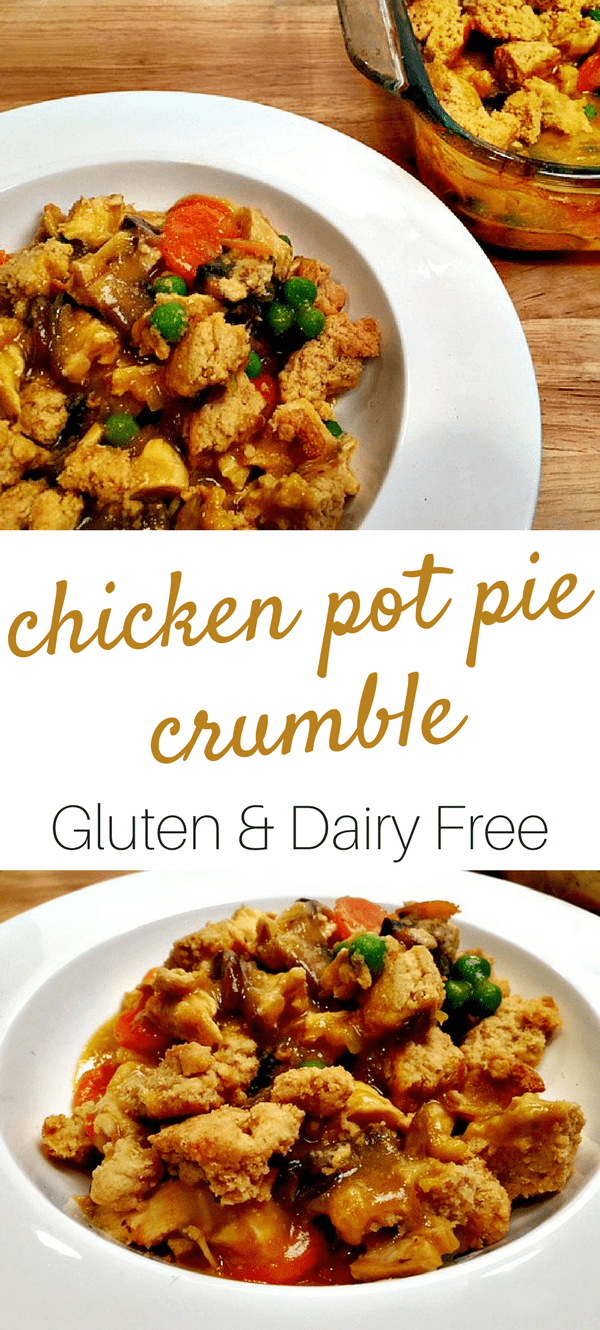
Chicken Pot Pie seems like something you have to give up if you are going gluten and dairy free. Not true! I made this super easy Chicken Pot Pie Crumble recipe that is savory and delicious! I opted for a crumble, as gluten-free pie crust can be a little sticky when you are working with a warm filling. Plus this makes it a quick, weeknight meal. But the crumble topping recipe will work just fine as a pie crust too if you want to go for it!
My inspiration for this recipe came from America’s Test Kitchen. They added just a tiny bit of soy sauce (I used Tamari) and tomato paste to boost the savory flavor. To skip the original dairy in this recipe, I just upped the chicken stock for a creamy sauce. Turmeric and mushrooms give it nice color along with their anti-inflammatory properties. For the crust, I opted for rich coconut milk. This adds silkiness without any trace of coconut flavor. I also added some nutritional yeast for its high Vitamin B content along with its cheesy flavor.
What is ghee?
For the crust, I used ghee instead of butter, but coconut oil will work fine too. Although ghee is derived from dairy, it is pure butterfat, and therefore doesn’t contain the components that cause problems with dairy. It is similar to clarified butter but has more of a nutty flavor. As it is heated, the casein and lactose are removed, which is why it doesn’t cause problems for most people with dairy allergies. If you are sensitive to dairy, try cultured ghee.
I always use grass-fed ghee which is a vibrant yellow color. That’s how you know you are getting a good quality. It contains beta-carotene, Vitamin K2, conjugated linoleic acid, Vitamin A, and Omega-3 fats. These nutrients help the body burn fat, prevent cancer, and reduce inflammation.
I also love how this is a one-dish meal, that you can easily freeze as a ready-made meal. Classic, simple, delicious…without gluten or dairy. Enjoy!
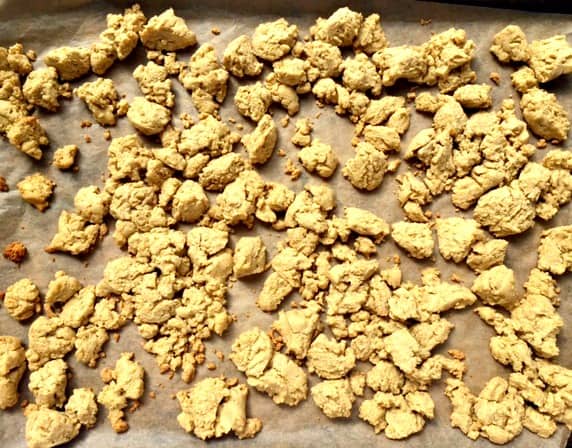
Combine flour, baking powder, salt, and nutritional yeast. Using a fork or pastry cutter, cut in ghee or coconut oil until mixture resembles coarse peas. Add coconut milk and stir to combine.
Spread the topping in pieces on your baking sheet. I find using a scissor to break off pieces of dough makes this quick and easy. Bake for 12-15 minutes until just starting to brown. Set aside.
Filling
To cook the chicken, simmer it in the broth, covered, for about 12 minutes. Remove chicken and allow to cool. Reserve broth. While vegetables are cooking, shred the chicken.
Heat 2 tablespoons ghee or olive oil to a large pot or Dutch oven over medium heat. Add onion, carrots, and celery and 1/4 teaspoon salt. Cover and cook for about 5 minutes. Remove lid and add the mushrooms. Cook for about 5 minutes, until their liquid is released. Add the tamari, tomato paste, thyme, and turmeric and cook until just starting to brown.
Add 1/2 cup brown rice flour. Stir and cook for about 1 minutes. Stir in broth. Bring to a boil, reduce heat and simmer for 1 minute until thickened. Remove from heat and stir in lemon juice, shredded chicken and peas. Spread into a 13X9 baking dish or large casserole. Spread crumble topping over filling and bake until bubbly, 15 minutes.
Recipe Notes
This recipe freezes really great. Freeze it before your final bake.
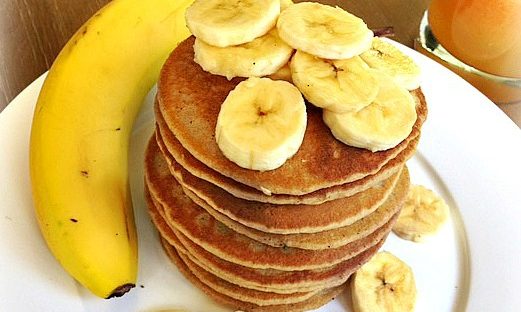
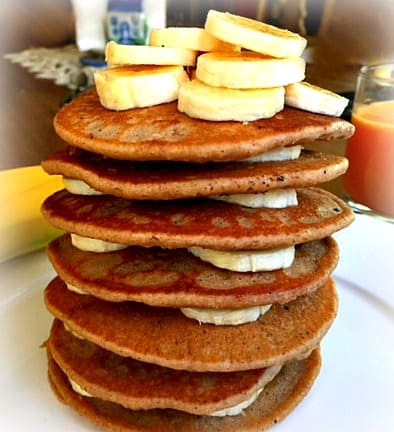
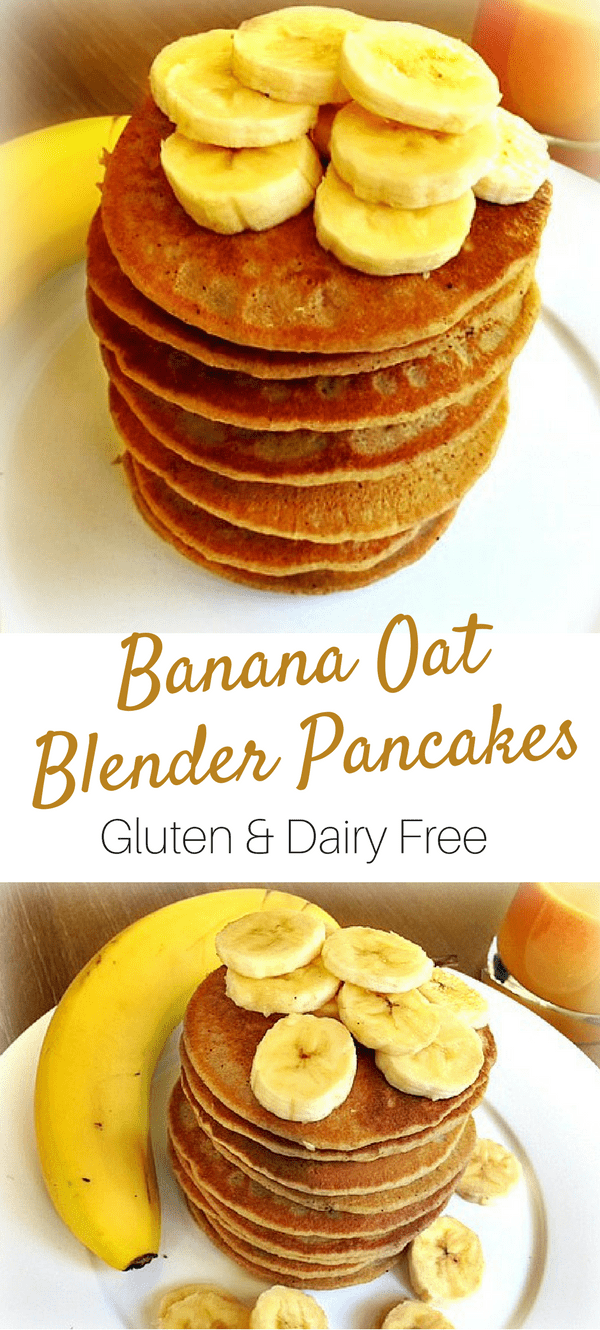
I just love these Gluten Free Banana Oat Blender Pancakes! Throw everything in the blender and pour them onto the griddle! Who doesn’t love pancakes for breakfast? But we don’t want to eat your typical wheat flour pancakes as gluten is what is making you all feel like you have no energy! There are so many delicious alternatives with no unusual ingredients!
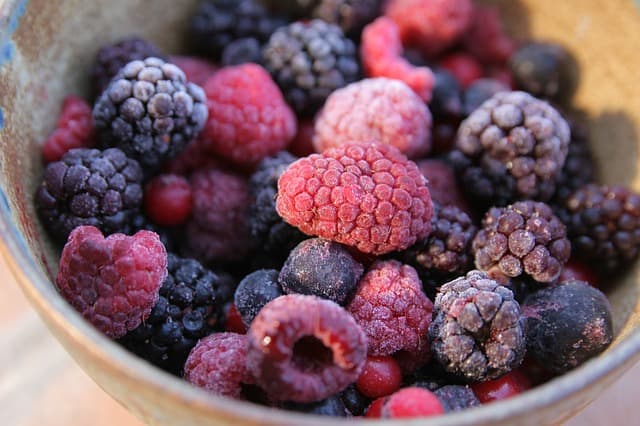
These pancakes are naturally sweet and kid-friendly. Skip the sugary maple syrup and instead heat up some frozen organic berries for a naturally sweet moist topping. You can also cook up some sliced apples with cinnamon. Or just eat them plain! Yum!
Any kind of gluten-free oats will do. Here’s a tip: I buy lots of organic bananas at one time from Costco or Trader Joes. When a bunch ripens, I peel them and freeze them so they are ready to go for smoothies, muffins, and especially these pancakes! Since we are putting them in the blender, you don’t even have to defrost them!
Any blender will work fine, but my absolute favorite is the Vitamix, especially if you are making your own nut milks. This thing is a workhorse and nothing grinds food up better. It comes with a ten-year warranty, but I don’t think I can possibly kill this thing and believe me, I should have by now. I even have the grain attachment so I can grind up my own gluten-free flours which can be a big money-saver!
Preheat your griddle and grease it with coconut oil.
Put all ingredients in the blender, and blend until smooth. Pour about 1/4 cup batter onto skillet and cook until bubbly. Flip and cook on the other side for about 2 minutes. Enjoy!
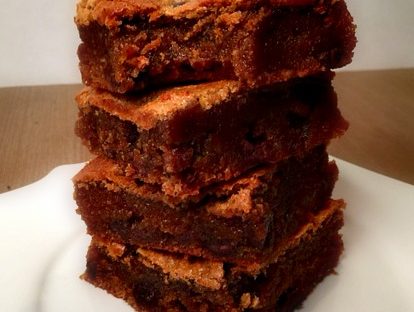
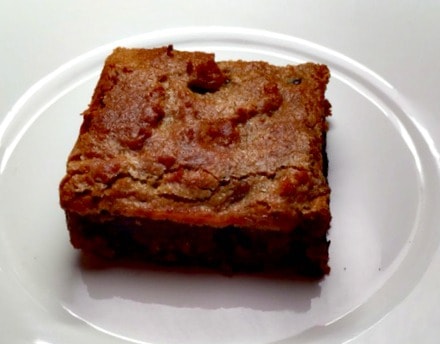
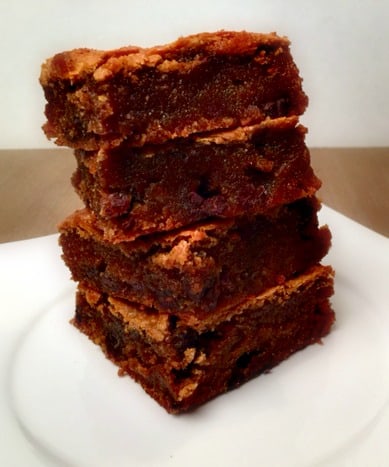
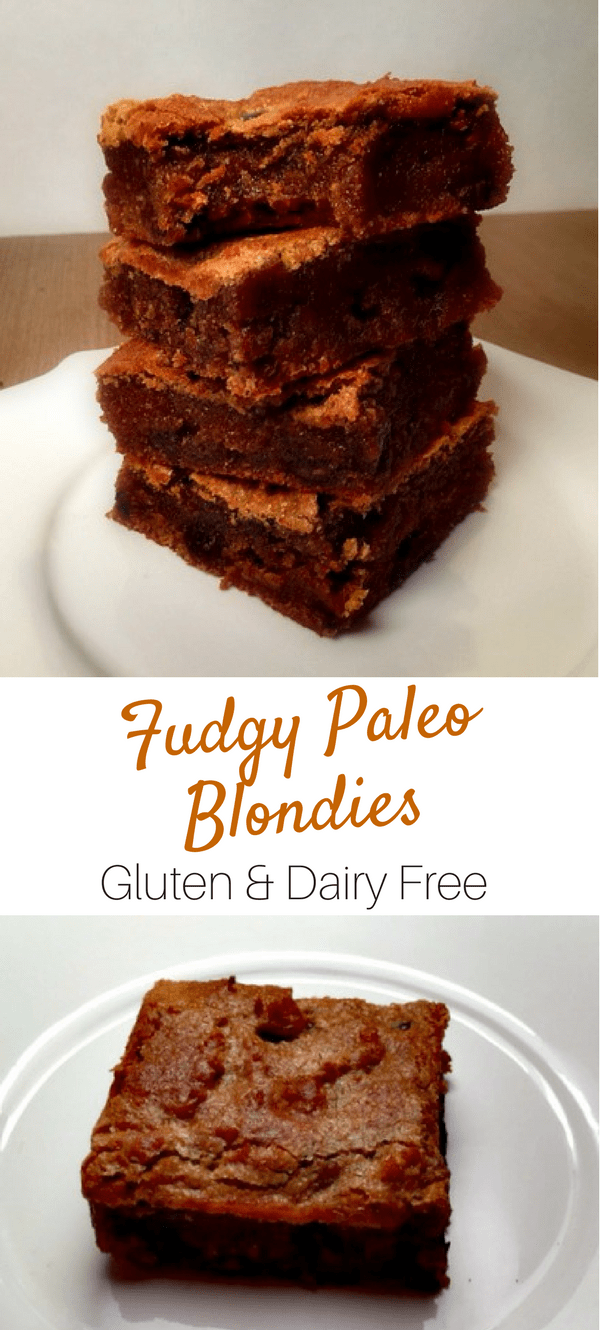
You’ve got to try these gooey Fudgy Paleo Protein Blondies! Blondies have always been one of my favorites! I wanted to see if could convert my almond butter chocolate chip cookie recipe into a blondie. I still don’t know the science behind it, but baking with nut butter gives an awesome rise and a super moist texture without using any xanthum gum!
The coconut flour in this recipes gives it added protein and the coconut oil gives it that nice shiny, crackly surface that every good brownie should have. Without any grains, these blondies are gluten-free. Also using coconut sugar and honey makes healthier baking possible and just as delicious!
So my five children are the true testers in this house and they loved them! I went upstairs for a minute and came back down to the kitchen to find an empty plate. Good thing I hid one in the freezer for me for later! Shhhhhh……….
Preheat oven to 350 degrees. Line an 8X8 pan with parchment paper, or grease well with coconut oil.
Whisk together all dry ingredients except chips.
In a mixing bowl, mix together wet ingredients on medium speed, until almond butter is incorporated. Add dry ingredient to wet and mix well. Fold in chocolate chips. Batter will be thick.
Spread batter into pan with spatula or oiled hands.
Bake for 22-25 minutes. Cool completely before cutting.
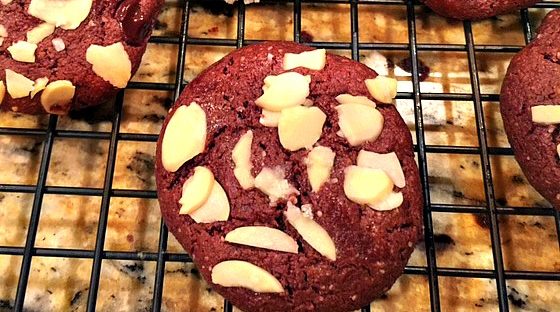
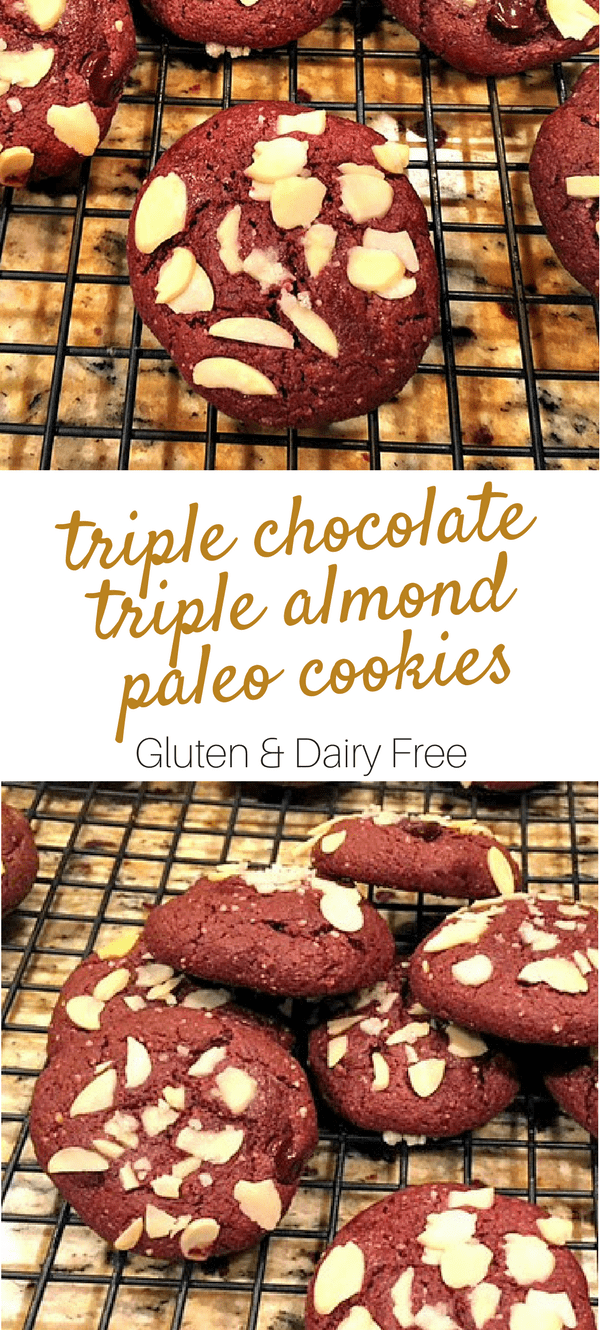
Since Valentine’s Day is coming up, I’m thinking chocolate! These Triple Chocolate, Triple Almond Cookies, are almost like a brownie. Three different types of chocolate give them intense flavor. Almond flour and almond butter make them super-moist, and the almonds on top give them a nice crunch. A bite of sea salt at the end makes these a real treat!
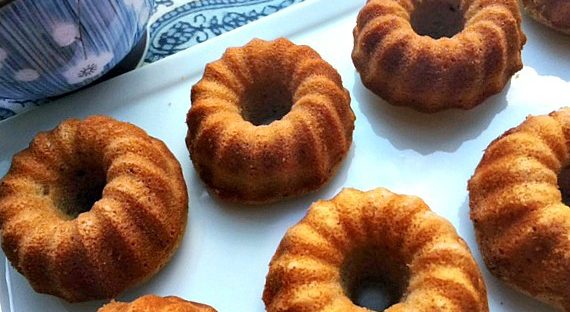
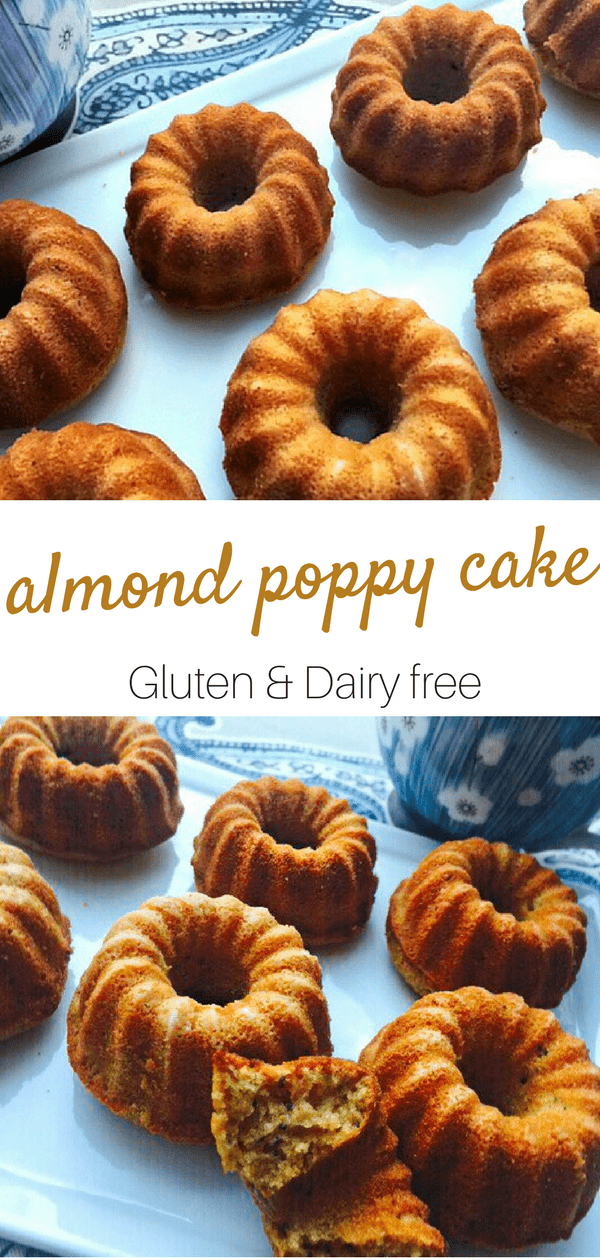
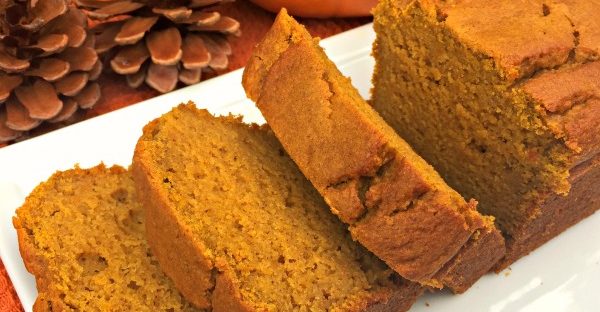
I have an old recipe from a friend for an almond poppy seed cake that has been a staple in my house for years. I always had one in the freezer ready for unexpected guests, or to take to a friend’s house for cake and coffee. But since I don’t eat wheat or dairy anymore, I had forgotten about it, until I came across the old recipe recently. I decided to try to change the recipe up by omitting the wheat and the dairy to see if I could get a replacement just as good as the original.
It took a few tries to get this right because the pound cake-like texture is challenging without the gluten. The addition of almond flour added moisture, and I swapped out canola oil for coconut oil and applesauce. This allowed me to lighten up on the sugar as the original recipe called for 1 3/4 cups of it. I baked these in my mini bundt pan, which makes these come out adorable, and are the perfect little bite. It also works great in a loaf pan or a full-size bundt. This Gluten-Free Almond Poppy Seed Cake is really something special!
Combine lemon juice with almond milk and let sit for 5 minutes. Sift together flours, baking powder, baking soda, and salt in a mixing bowl. Add remaining ingredients and blend on medium speed for 2 minutes.
Pour into paper lined muffin tins or greased pans.
For muffins/mini bundts: Bake 18-20 minutes
For loaf pan: Bake 55 minutes.
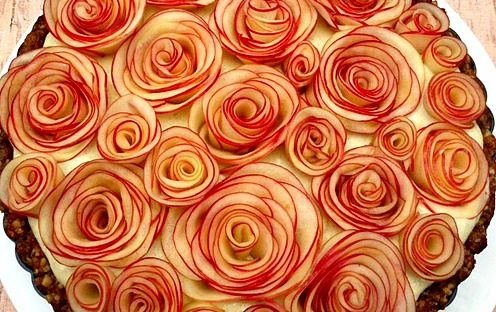
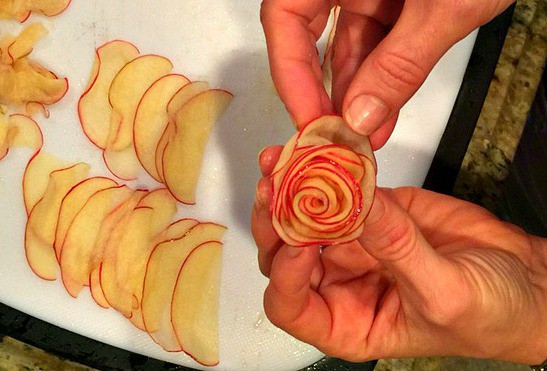
Ok, I’m getting fancy on you now, but it’s the holidays! This Apple Rose Tart is a showstopper and although it may look complicated, it is actually very simple to make. It does take a little time to roll the apples, but it can be prepared a day in advance. The combination of dairy-free custard, with the nutty crust, and the sweet apples is delicious!
Put the walnuts and dates in a food processor and pulse about 20 times until you have a crumbly paste. Press the crust into the bottom and sides of a tart pan or a pie pan.
Bake for 15-20 minutes. Cool to room temperature.
Maple Custard
In a medium bowl whisk egg yolks, syrup, and salt.
In a medium saucepan, whisk coconut milk and arrowroot in a medium saucepan. Heat over medium heat until just bubbly and starting to thicken.
Pour 1/3 cup hot milk into the egg yolks, whisking constantly. Pour egg yolks back into the pan and heat until just bubbly. Remove from heat.
Place custard, vanilla, and gelatin in a blender or food processor and blend until combined. Pour custard through a fine mesh strainer into a bowl.
Place custard in a bowl and press plastic wrap directly on to the surface. Refrigerate at least 4 hours.
When ready to place roses, spread custard evenly into the crust.
Apple Roses
Core and slice apples very thin on a mandoline or with a very sharp knife.
Combine honey and orange juice. Soak apples in juice for about 5 minutes, just until pliable, then strain.
Arrange about 8 apple slices in a long row and roll them up. Wrap a few more slice around the outside to create a rose.
Make a variety of sizes and some small rolls to fill in empty spaces.
Place roses in a mini muffin tin to hold, while you are preparing them all.
Place roses on top of the custard. Fill in spaces with smaller rolls. Cover and refrigerate till ready to serve. enjoy!
Whisk or sift all dry ingrediets into a medium bowl. In a separate bowl, whisk together all wet ingredients. Combine wet ingredients with dry ingredients and add nuts if desired.
Pour into greased loaf pan and bake for 65-75 minutes.
Recipe Notes
GLUTEN-FREE FLOUR BLEND
You can buy an all-purpose gluten-free flour blend, but I mix up my own big batch of whole grain gluten-free flours that I keep handy in a large jar to easily whip us recipes like these:
Langoustine or langostinos are like little tiny lobsters. You can find them in the frozen section at Trader Joes’s. I found this great buckwheat pasta angel hair pasta at Home Goods for only $3.99 a bag. You would be surprised how much natural food you can find at Home Goods.
If you don’t like buckwheat, any gluten-free angel hair pasta will do.
Kefir is a fermented milk beverage that contains three times more beneficial bacteria and yeast than regular yogurt. The yeast in the kefir slowly works overnight to leaven this gluten-free batter giving this cake a wonderfully light crumb!
Benefits of Kefir
Kefir is a rich source of protein, calcium, and B vitamins. It is more powerful than yogurt. Yogurt contains beneficial bacteria, but kefir can actually colonize the gut. Remember, all disease starts in the gut, so we want to have beneficial bacteria growing there. Kefir’s strong antibacterial properties also protect the gut from various harmful bacteria.
Although traditional dairy products can cause inflammation in the body, fermented dairy products can potentially protect against cancer. Many people who are lactose intolerant can often digest kefir because it contains a lower amount of lactose and as well as enzymes to digest it.
Kefir can also be made from coconut water which works great in this recipe if you have a dairy allergy. It’s easy to make at home too.
Baking with Kefir, does kill some of the healthful bacteria, but most of the beneficial nutrients still remain.
Whisk wet ingredients in a separate bowl and then add to dry ingredients and stir to combine.
Cover the bowl tightly and let stand at room temperature up to 8 hours or in the refridgerator overnight.
When ready to bake, grease a 9 X 13-inch baking pan. Preheat oven to 350 degrees.
Spread the cake batter in the prepared dish and set aside.
Make the Topping
Sift together the almond flour and the salt. Cut in the honey and the cold ghee with a fork or pastry cutter until you have small chunks.
Sprinkle half of the mixture over the cake. In a small bowl, combine the cinnamon and cacao and sprinkle evenly over topping. Sprinkle remaining topping on.
Bake for 40 minutes. Let cake cool completely.
Recipe Notes
This cake freezes really well and also can easily be converted into muffins too!