benefits of bone broth

Benefits of Bone Broth

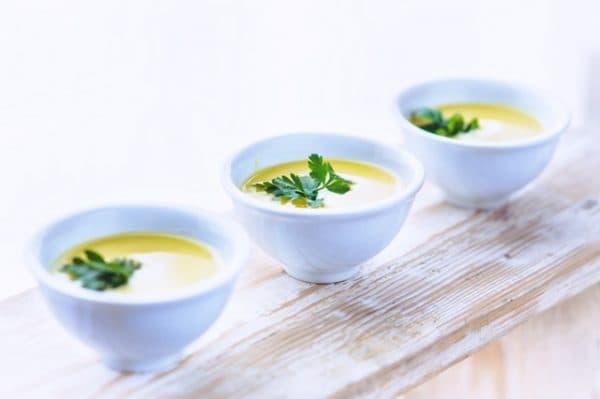
Homemade bone broth is so easy to make and a staple in the kitchen, you should be making it all of the time. Store-bought stocks aren’t really bone broth. They are loaded with sodium and rely on meat “flavors” rather than real bones. They also usually contain monosodium glutamate (MSG), which is a neurotoxin.

Save money

Bone broth is also a money saver as it is much cheaper to buy a whole chicken, cut it up yourself, and then use the bones and giblets to make your stock. Here is a video to show you how easy it is to cut up a chicken. Jacques Pepin can do it in under three minutes. With a little practice and a sharp knife, you can do it under five.

health benefits

Homemade bone broth has also been found to have many health benefits. In a study by The University of Nebraska, chicken broth was found to prevent infection and to have anti-inflammatory properties. Stock has also been found to boost the immune system and may be beneficial in healing asthma, allergies, and arthritis.

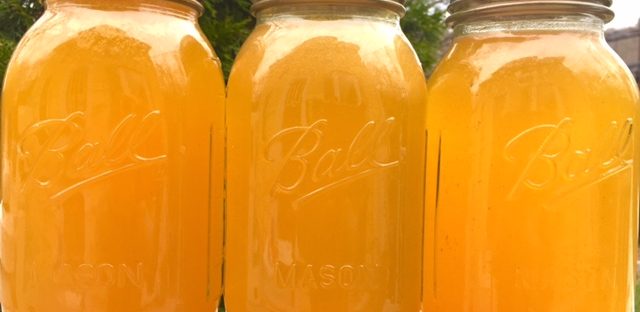
The longer you cook it, the more nutrients you will pull out of the bones. Make up a big batch and then freeze it in mason jars. Short on space? You can concentrate the stock by boiling it down, then reconstitute it with water when you are ready to use it.
Print Recipe
Chicken Stock
Servings
quarts
Ingredients
Servings
quarts
Ingredients
Instructions
  1. Put the bones in a large stock pot and cover with water. Bring to a boil. As the water boils skim the foam that rises to the top. Gently boil for one hour.
  2. Add remaining ingredients. Simmer for at least 6 hours and up to 24 hours.
  3. When finished, strain bones and vegetables. Once cooled the fat will rise to the surface and you can discard if desired.
  4. Alternate: Place all ingredients in a crock pot after roasting and cook on low for 24 hours.
Share this Recipe
Print Recipe
Beef Stock
Beef Stock
Servings
quarts
Ingredients
Servings
quarts
Ingredients
Beef Stock
Instructions
  1. Preheat oven to 400 degrees.
  2. Roast bones in a large roasting pan or rimmed baking sheet for 1 1/2 hours.
  3. Add onions and carrots and roast for 30 more minutes.
  4. Remove bones and vegetables from pan and place in a large stock pot. Add remaining ingredients. Fill pot with water to cover about 2 inches over bones.
  5. Bring to a boil and skim off fat from the surface. Reduce heat and simmer for at least 6 hours and up to 24. Continue to add water as needed.
  6. When finished, strain bones and vegetables. Once cooled the fat will rise to the surface and you can discard if desired.
  7. Alternate: Place all ingredients in a crock pot after roasting and cook on low for 24 hours.
Share this Recipe


vegetarian chili pot pie

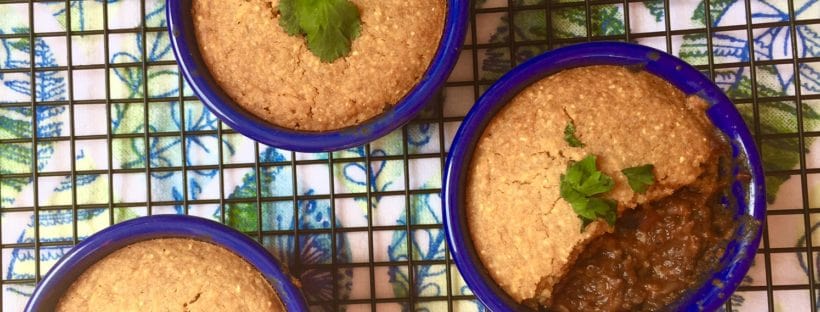
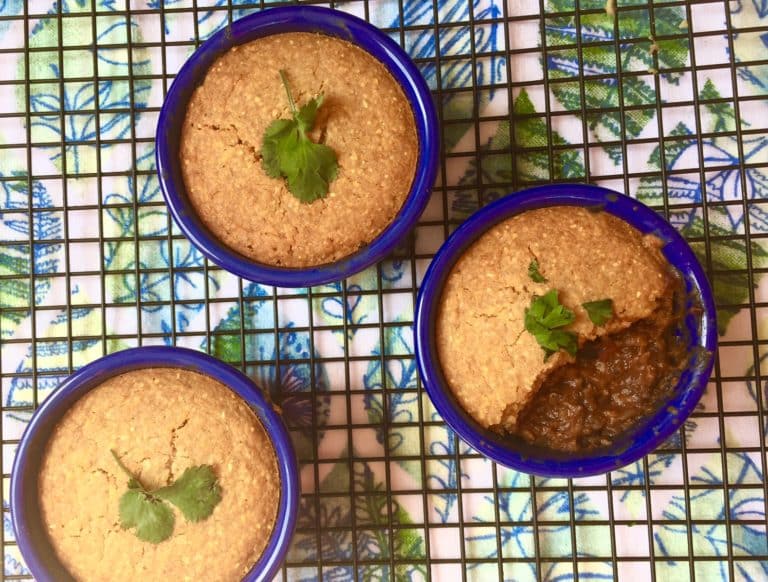
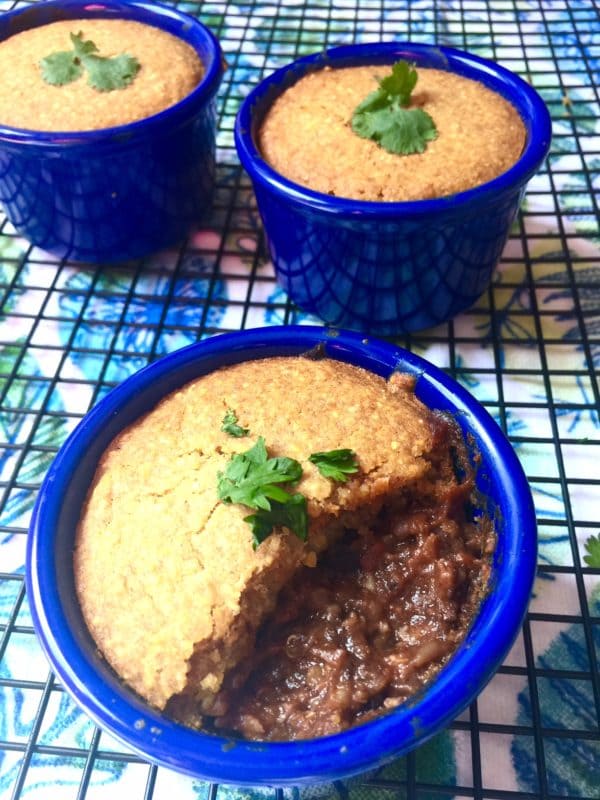
Vegetarian chili and cornbread pot pie

You will never know there is no beef in this chili! Ground toasted walnuts and millet add a beefy texture and the mushrooms and tamari give it a hearty flavor.  You can make this with or without the cornbread topping.

vegetarian chili pot pie

Print Recipe
Vegetarian Chili
Course Main Course
Prep Time 10 minutes
Cook Time 8 hours
Servings
servings
Ingredients
Course Main Course
Prep Time 10 minutes
Cook Time 8 hours
Servings
servings
Ingredients
Instructions
  1. Process walnuts and mushrooms in food processor until finely ground. Transfer to slow cooker.
  2. Heat oil in a medium skillet over medium high heat. Add onions, salt, garlic, and tomato paste and cook until just beginning to brown, about 8 minutes. Transfer to slow cooker along with remaining ingredients, except cilantro
  3. Cover and cook on low 8 hours. Garnish with cilantro.
  4. See below for cornbread topping.
Share this Recipe
 
Print Recipe
Cornbread Chili Pot Pie
vegetarian chili pot pie
Cook Time 35 minutes
Servings
servings
Ingredients
Cook Time 35 minutes
Servings
servings
Ingredients
vegetarian chili pot pie
Instructions
  1. Preheat oven to 350 degrees. Grease 8 small ramekins or 6 medium and place on a baking sheet.
  2. Whisk together all dry ingredients in a medium bowl.
  3. In a separate bowl whisk together all wet ingredients.
  4. Add the wet ingredients to the dry and thoroughly combine.
  5. Fill the ramekins 3/4 full with cooled chili. Top with batter.
  6. Bake for 35 minutes. Cool slightly before serving.
Share this Recipe
Curb sugar cravings

Curb those sugar cravings!

I know… those cupcakes look so good. You know the feeling.  We all do, because most of us struggle with sugar addiction.Sugar addiction is a very real thing.  In fact, scientists have found that sugar can be more addicting than cocaine. But we can overcome it and you can curb those sugar cravings!

Here are some tips to help you fight that battle against sugar:

1. Eat regular meals

Always eat with 30 minutes of waking up.  Then eat again after 2 hours, but not beyond 4 hours. This should entail 3 meals each day, plus 2 snacks.  Eating regularly with the 3 three elements of Fat, Fiber, and Protein will help balance your blood sugar and avoid those blood sugar drops.  It will also help keep you satiated and keep your energy balanced so you are not reaching  out for a sugary “pick-me-up”

2.EAT FAT!

I love telling people that.  So many of us are under the false assumption that fat will make you fat, but this is just not true of good clean fats.  Sugar makes you fat, and sugar makes you want more sugar.  Good quality fats like coconut oil, olive oil, nuts, salmon, and pastured animal fats help our bodies feel full, and if you feel satiated you won’t crave sugar as much.

3. Stay hydrated

Most people do not drink enough water and often when we are dehydrated, we feel hungry and crave sugar, but we are really just thirsty. So next time you crave sugar, try drinking a tall glass of water instead.

4. Exercise

Exercise plays such a vital role in your health.  It helps improve your mood, controls your weight, and promotes better sleep.  It’s also a great stress reducer, boosting endorphins (you know, the happy chemicals in your brain). Regular exercise can keep those sugar cravings at bay.

5. Feed Your Gut

Probiotic foods help keep our gut in balance and diminish the desire for sugary foods. By starving the yeast that may be growing in your gut, you will crave less sugar. Fermented foods like kombucha, sauerkraut, or kimchi are great for keeping the gut healthy!

6.Get a good night’s sleep

Getting enough sleep is essential to our well-being.  If we feel rested, we don’t need those sweets to keep us going throughout the day.

7. for chocolate lovers

This is my weakness. Just the word “chocolate” sounds so soothing to me. If chocolate is your weakness, there could be a reason behind it.  Studies have shown that a craving for chocolate can be linked to a magnesium deficiency.  Magnesium rich foods can improve our bodies uptake of glucose into our cells which will also prevent a sugar crash  So try eating more magnesium-rich foods like green leafy vegetables, broccoli, pumpkins seeds, and green beans.  Even some raw cacao powder in your smoothie is a great way to increase your magnesium without chomping on a bar of chocolate.

You can do it!

Kicking the sugar habit can be tough, but the fewer sweets you eat, the less you will crave them.  Sugar consumption leads to obesity, inflammation, and a lack of energy.  Sugar consumption has even been linked to depression.  By curbing those cravings, you will start to lose weight and to feel great. I know you can do it, and you will be glad you did! Feel free to contact me if I can help you in any way.

Overnight Oat Oatmeal Food

Overnight Oatmeal

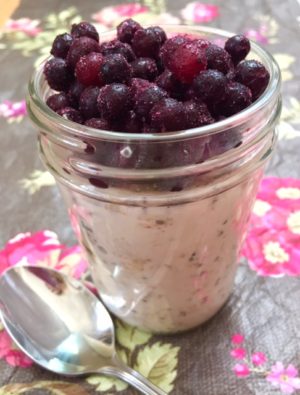
Here’s an easy quick way to have breakfast ready for you in the morning with a no-cook overnight oatmeal!  I take these on vacation with me, so I am always assured of a nutritious breakfast, no matter where I am.  I simply bring my jars of dry ingredients, and some almond milk in a cooler and pour it in the night before.

Try different combinations of seeds, berries, or nut butters. If you prefer it hot, simply heat the oatmeal up in the morning for just a minute in a pot on the stove.

Print Recipe
Overnight Oatmeal
Overnight Oatmeal
Course Breakfast
Prep Time 2 minutes
Servings
person
Ingredients
Course Breakfast
Prep Time 2 minutes
Servings
person
Ingredients
Overnight Oatmeal
Instructions
  1. Mix all ingredients in a jar. Place in the refrigerator overnight. Stays fresh up to 3 days.
Recipe Notes

Try different combinations of berries, nuts, almond butter, bananas, pumpkin seeds, coconut, and more. Add protein powder for an extra boost.  Whatever you like!

Share this Recipe
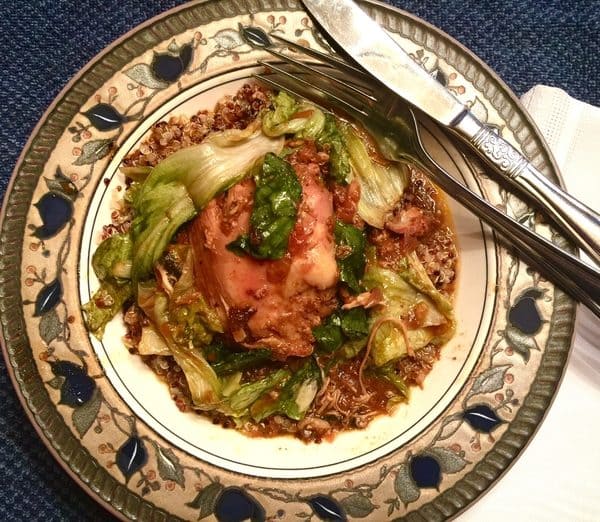
slow cooker chicken w/escarole

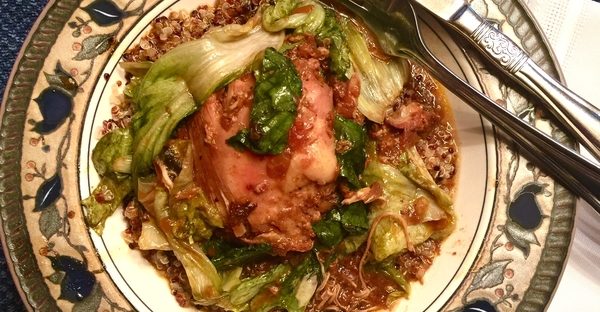
Slow Cooker Braised Chicken w/Escarole

Benefits of Bay leavesbay leaf

Ever wonder why bay leaves are used so often in Italian cooking? Its flavor is very subtle, so you may think it is an optional ingredient, but bay leaves are packed with nutrients!

Bay leaves are a rich source of Vitamin A, Vitamin C, and folic acid. They also contain B-complex vitamins as well as many minerals. They have been shown to help regulate blood sugar and help protect against cancer.  Bay leaves also have a very soothing effect on the body.

The greatest benefit of bay leaves is parthenolide, which has a powerful anti-inflammatory effect on the body.  So never skip the bay leaves!  Add them to soups, stews, or anything that will be simmered for a good long while! Try them in this Slow Cooker Braised Chicken Recipe!

Print Recipe
Slow Cooker Braised Chicken w/Escarole
slow cooker chicken w/escarole
Course Main Course
Cuisine Italian
Prep Time 12 minutes
Cook Time 4-6 hours
Servings
people
Course Main Course
Cuisine Italian
Prep Time 12 minutes
Cook Time 4-6 hours
Servings
people
slow cooker chicken w/escarole
Instructions
  1. Heat ghee or oil over medium heat in a skillet. Saute onions, anchovy, garlic, turmeric, oregano, and tomato paste about 6-8 minutes until just beginning to brown.
  2. Add in the wine and balsamic to deglaze the pan. Pour into slow cooker.
  3. Season chicken with salt and pepper. Place in slow cooker.
  4. Dissolve arrowroot in stock and add along with bay leaves and Kombu (Dried Seaweed).
  5. Cook on low for 4-6 hours.
  6. Stir escarole into sauce and cook on low for 30 minutes, until tender. Season sauce with salt and pepper as needed.
  7. Serve over quinoa, brown rice, or cooked millet.
Share this Recipe
simple salmon recipe

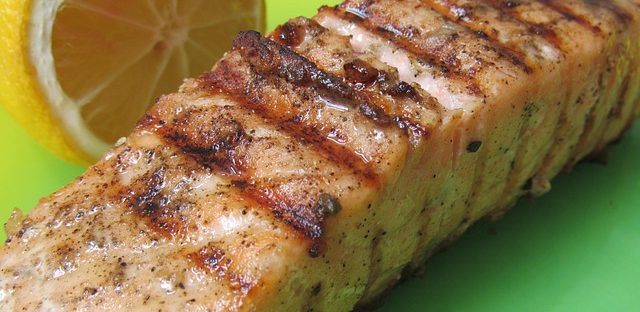
Simple Salmon Recipe

I make my family eat salmon once a week because it is one of the world’s healthiest foods, containing anti-inflammatory omega-3 fat.  It is also one of the few food sources of Vitamin D and selenium.

It does have a stronger flavor than other fish, so some people shy away from it, especially kids. So I have tried preparing salmon countless ways to get them to like it; special sauces, cedar plank grilled, broiled, bruleed, etc.  It turned out, the simplest recipe was everyone’s favorite and I no longer had to “force” them to eat it.  The key?  Searing the skin in a piping hot pan in a delicious heart-healthy fat!

I used duck fat because it one of healthiest fats you can eat and also the key to all of the delicious food served in French restaurants!  It can be a little pricey, but I render my own when I cook duck breast.  You can also use pastured bacon fat, ghee, or coconut oil.

This easy salmon recipe requires very few ingredients and barely takes 15 minutes to prepare.

Print Recipe
Simple Salmon Recipe
simple salmon recipe
Course Main Dish
Prep Time 1 minute
Cook Time 15 minutes
Servings
servings
Ingredients
Course Main Dish
Prep Time 1 minute
Cook Time 15 minutes
Servings
servings
Ingredients
simple salmon recipe
Instructions
  1. Preheat oven to 400 degrees. Heat an oven-proof skillet on high.
  2. Season salmon fillets with salt and pepper on both sides.
  3. Add fat to pan and place salmon skin side down in it and cook for about 5 minutes until skin is browned and crispy. Gently turn fish over and cook on other side for 5 minutes.
  4. Place entire pan in oven and bake for another 5-8 minutes until just cooked through. The secret to perfect salmon is to not over cook it.
Share this Recipe

almond milk

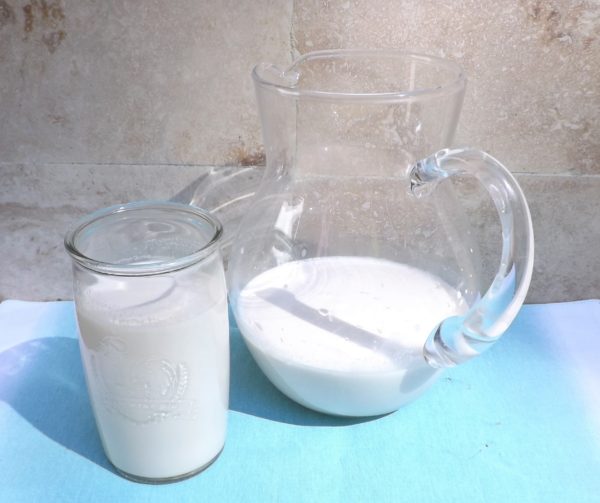
Homemade Almond Milk

Making your own almond milk is simple and delicious.  It is also a way to avoid all of the harmful ingredients in the store bought versions.

Print Recipe
Almond Milk
almond milk
Prep Time 2 minutes
Passive Time 4 hours
Servings
servings
Ingredients
Optional Add-ins
Prep Time 2 minutes
Passive Time 4 hours
Servings
servings
Ingredients
Optional Add-ins
almond milk
Instructions
  1. Drain almonds and then combine them with water in a blender. Blend until smooth. Pour into a Nut Milk Bag or a double layer of cheesecloth and squeeze milk out. Add optional add-ins if desired.
    almond milk
Share this Recipe
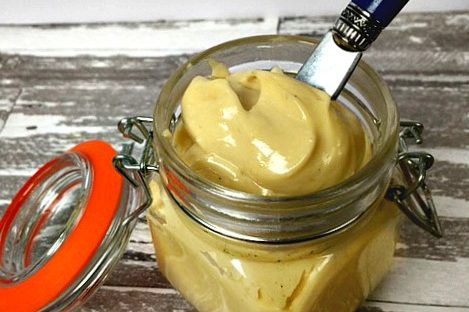
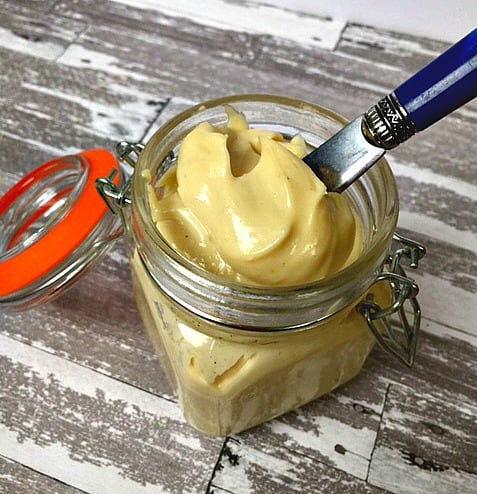
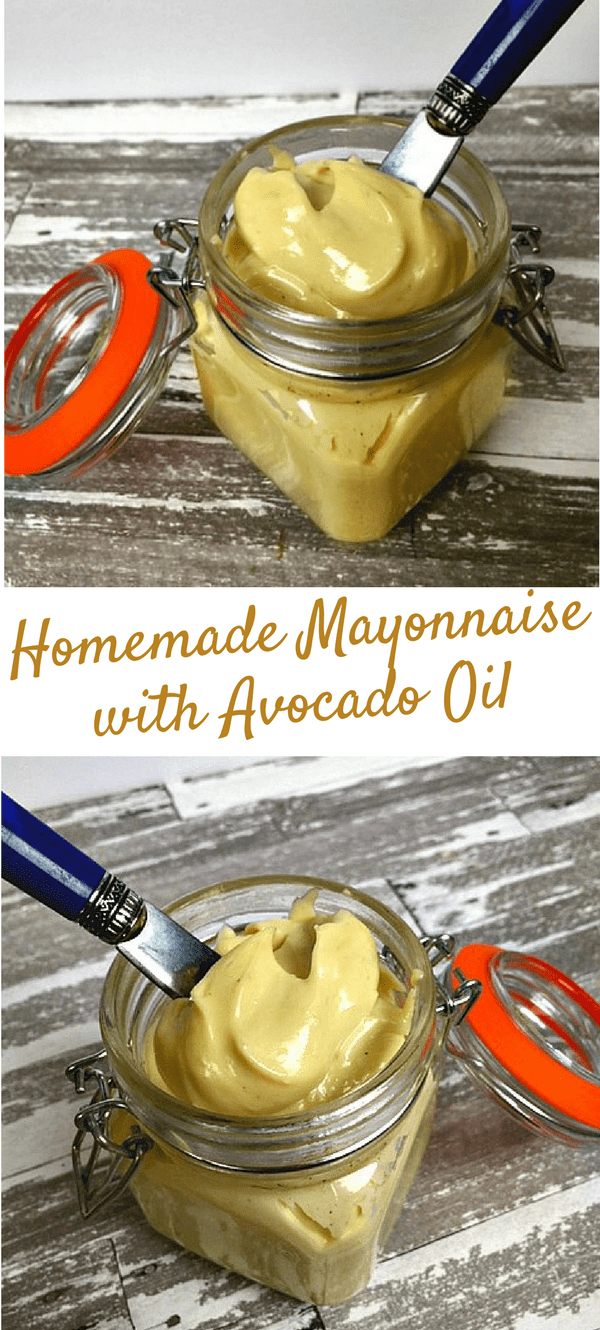
Homemade Mayonnaise with Avocado Oil

Homemade Mayonnaise with Avocado Oil

Homemade mayonnaise has always alluded me because it just seemed too complicated.  I believed that until my 12-year old son easily whipped up a batch in minutes for his science experiment on emulsion. It was so simple! You may think it is more convenient to purchase mayonnaise, but what is really in that mayo jar from the store?

The problem with store-bought mayo is mainly the oil and the eggs.  But, wait, those are the main ingredients! Most conventional mayonnaise brands are made with soybean oil.  This oil is almost always genetically modified and highly processed.Homemade Mayonnaise with Avocado Oil

The other main ingredient in mayo is eggs, which is usually from unhealthy chickens being fed GMO- food.  Pastured eggs are the best choice as they add healthy fat as well as Vitamin A, choline, and lecithin.

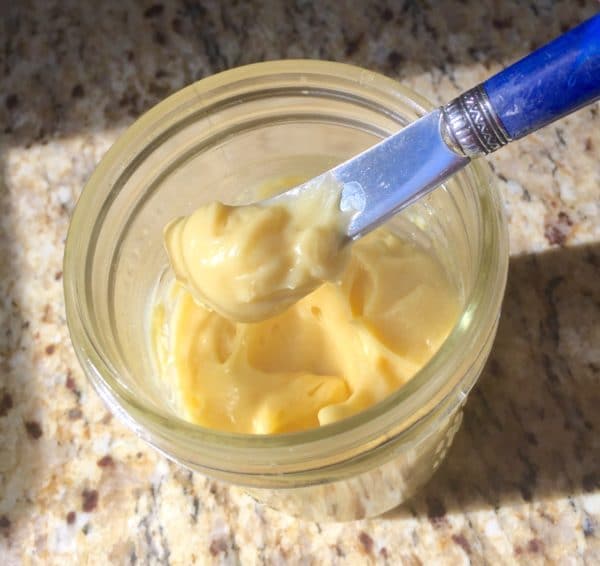
Although the organic versions of mayo may be a little better than the main brands, they still contain high amounts of sugar and salt. Making homemade mayonnaise is not only healthy for you, but it is also delicious too!  Once you taste the freshness of this homemade condiment, you will have a very hard time going back to the processed version in a jar.homemade mayonnaise with avocado oil

Print Recipe
Homemade Mayo with Avocado Oil
homemade mayonnaise
Prep Time 3 minutes
Servings
cup
Ingredients
Prep Time 3 minutes
Servings
cup
Ingredients
homemade mayonnaise
Instructions
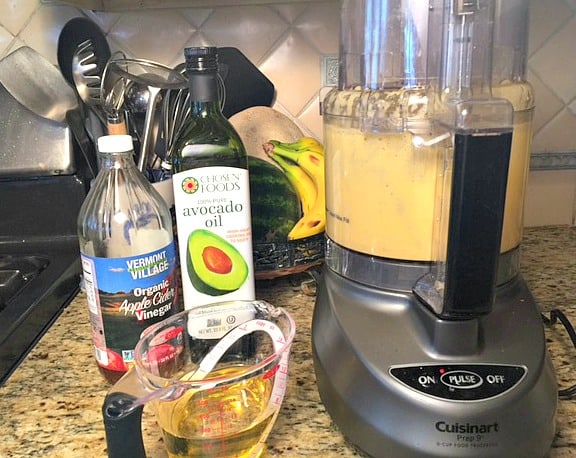
  1. Place the eggs, sucanat, vinegar, salt, and mustard in the bowl of a food processor or blender. Blend until smooth. While motor is running, pour the oil in a slow steady stream. Once it starts to emulsify you can add it faster. Process for about 3 minutes until creamy. Taste to adjust for salt. Store in a glass jar in the refrigerator.
Recipe Notes

Mayonnaise will stay fresh for about one week.

Share this Recipe

Homemade Mayonnaise wit h Avocado Oil